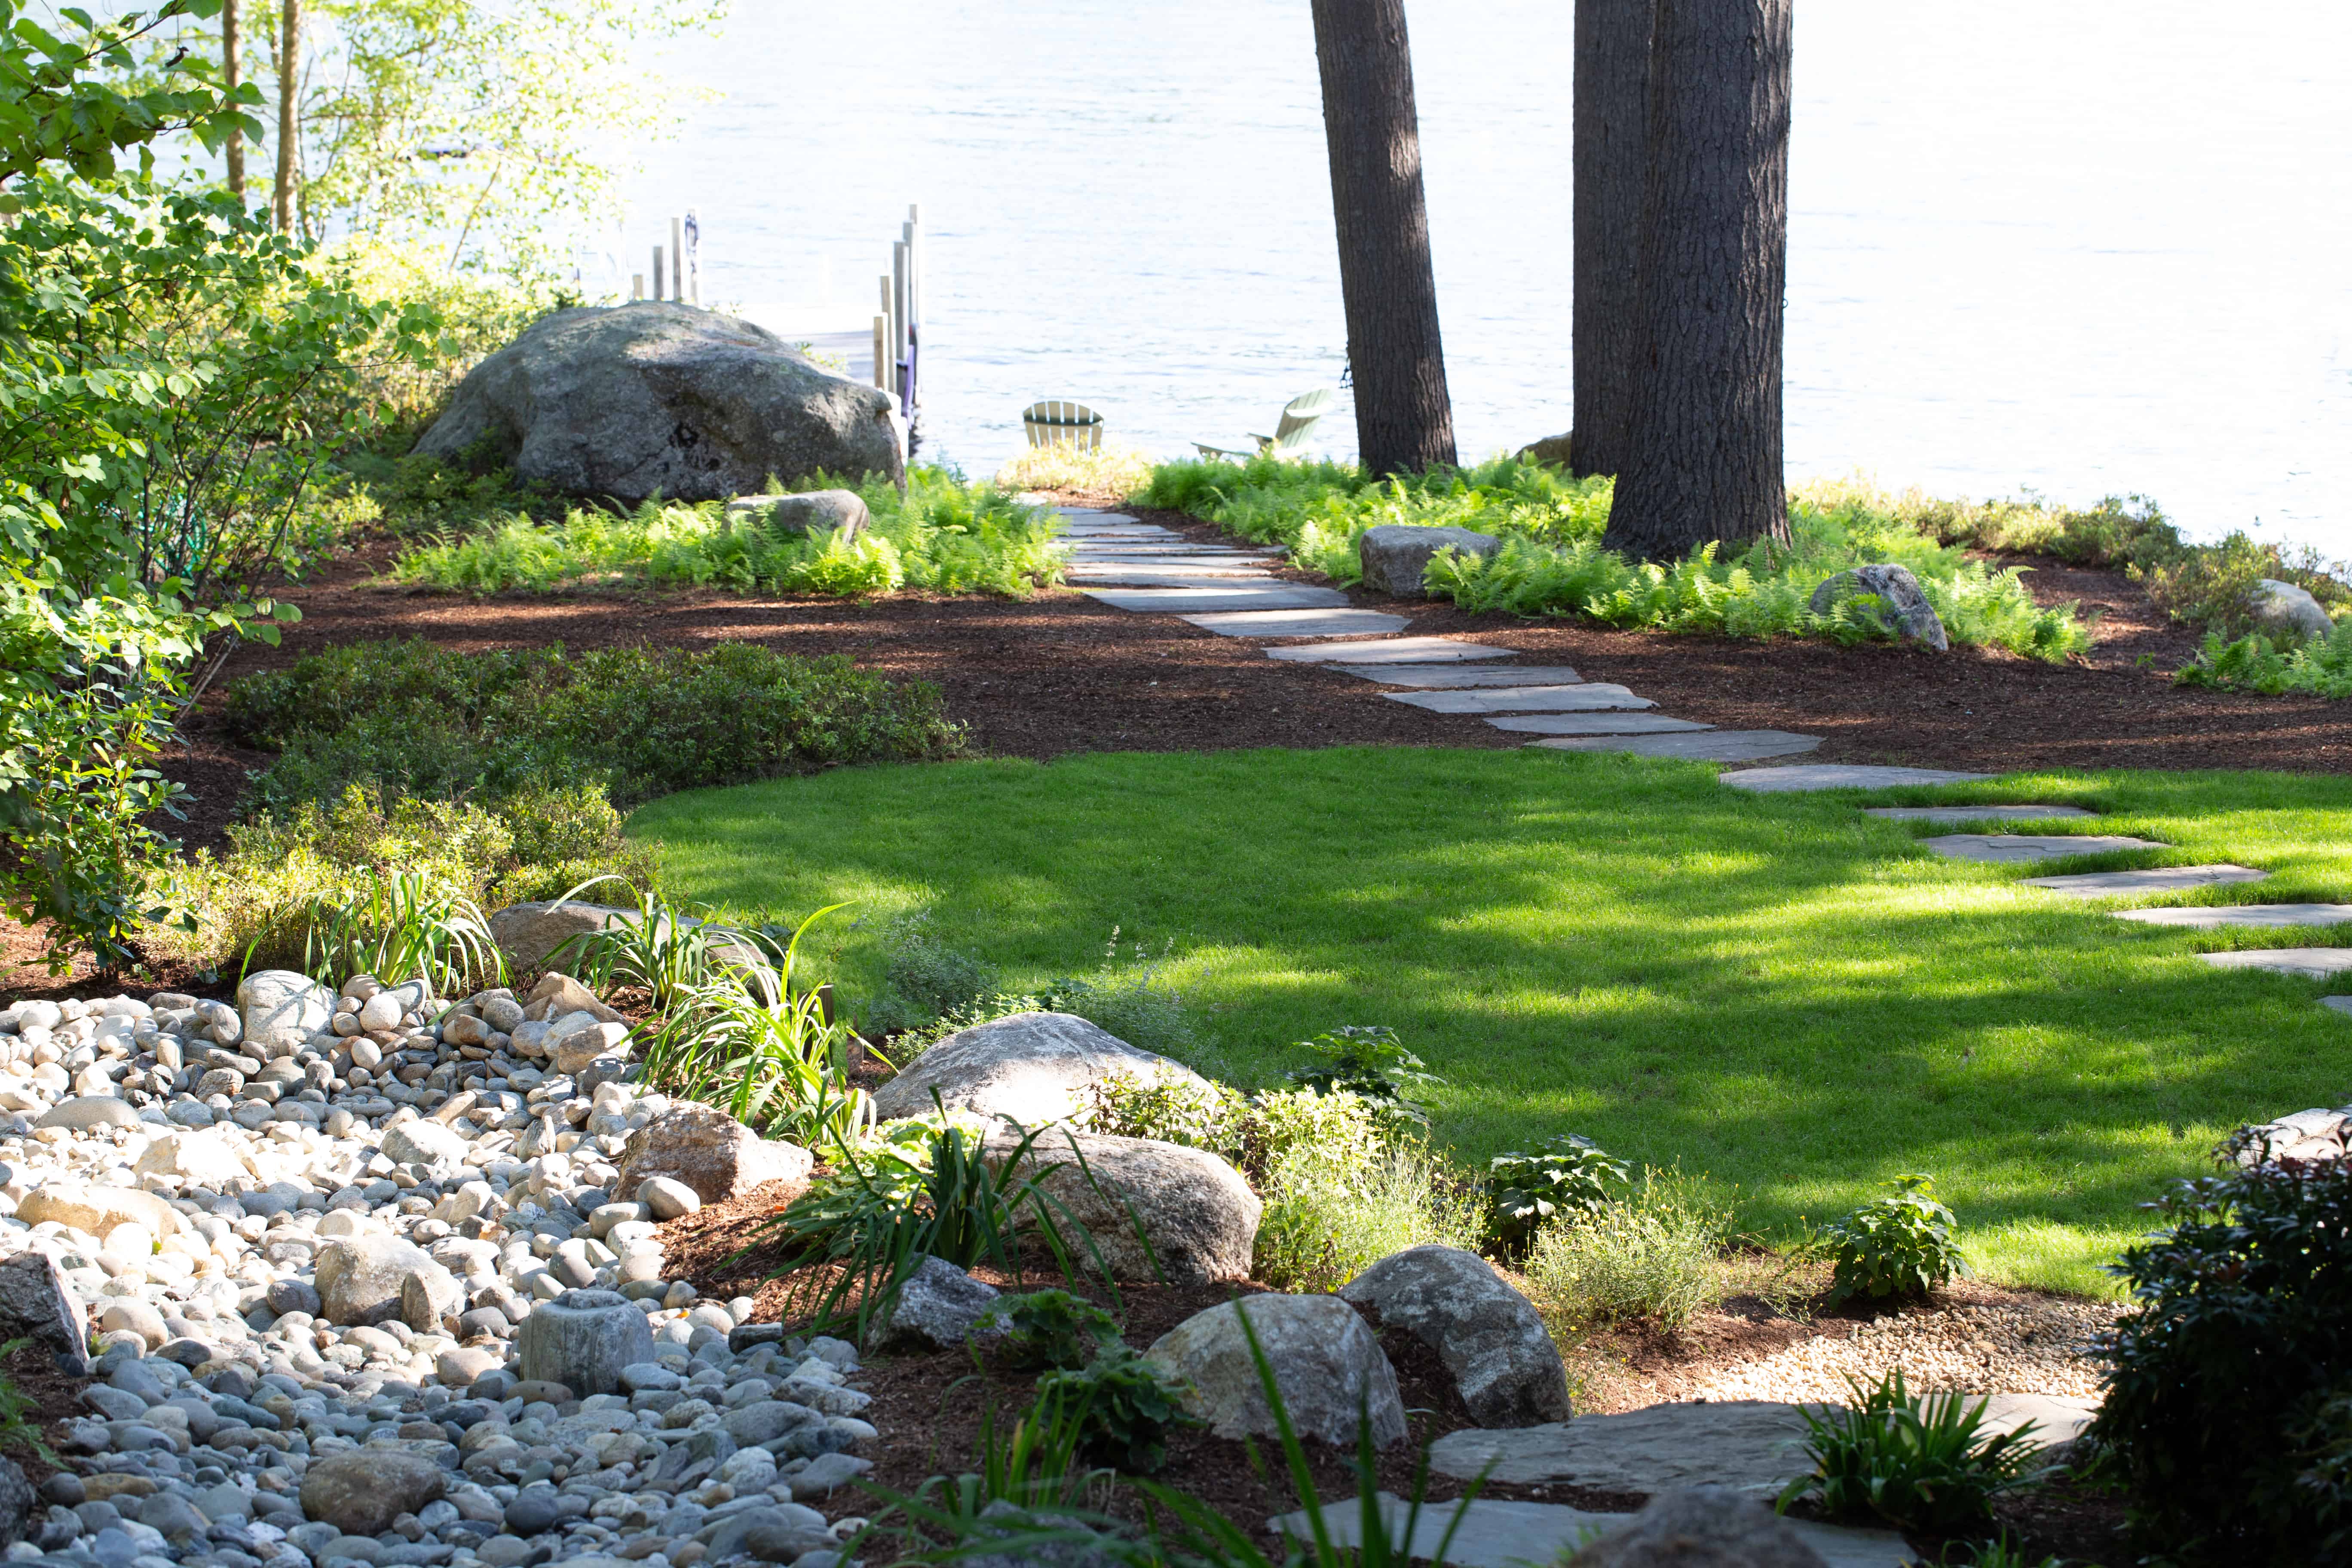
Making the Most of Mulch

Landscape Maintenance

Mulching has been favored by gardeners and landscapers alike for many years, as mulching adds a nice finishing touch to well-landscaped grounds and protects plants, trees, and shrubbery. Since mulch can affect the soil beneath the mulch, it must be applied properly to not damage the root system of your plants. We’ll discuss what to consider when adding mulch to your property so you can make sure your gardens, yard and landscaping look their best year-round.

What is mulch?

Mulch is the name used for a substance that’s put on top of soil to provide protection or add visual interest to an area. When you are deciding which mulch to use in your landscaping, remember, the best mulch is an organic material, that is, it’s a substance that already comes from nature. Common mulches are made of bark/wood chips, and moss. Mulch comes in a variety of colors, so you can choose one that best complements your property features and landscape design.

Why use mulch?

Mulch has been used to add an aesthetic, decorative touch to landscapes for decades. Mulching around plantings, shrubs and trees adds a dimension of shading under foliage as well as contrast under brightly colored flowers. But mulch serves much more than a decorative purpose.

Mulch can help deter weed growth among your plantings by not allowing sunlight to pass down to them. It will help the soil around your plantings retain moisture, which is always beneficial to their growth, especially in dry periods. Mulch traps water and slows evaporation from the surface of the soil, so plants stay hydrated longer, reducing the need for frequent watering. It can protect your plants during periods of heavy rain, as it will absorb water and protect the roots; mulch will also help minimize soil erosion around your plantings.

Mulch can also help protect your plant’s roots during periods of extreme heat, as it acts as an insulator. The use of mulch can reduce the occurrence of heat damage to both the base of your plants and the surrounding soil. It will also help your plants resist pest and plant disease; in fact, organic mulches provide earthworms and micro-organisms with food, which is great for your plants and your plant health.

During decomposition, organic mulches add beneficial nutrients back into the soil, enriching your soil for next year.
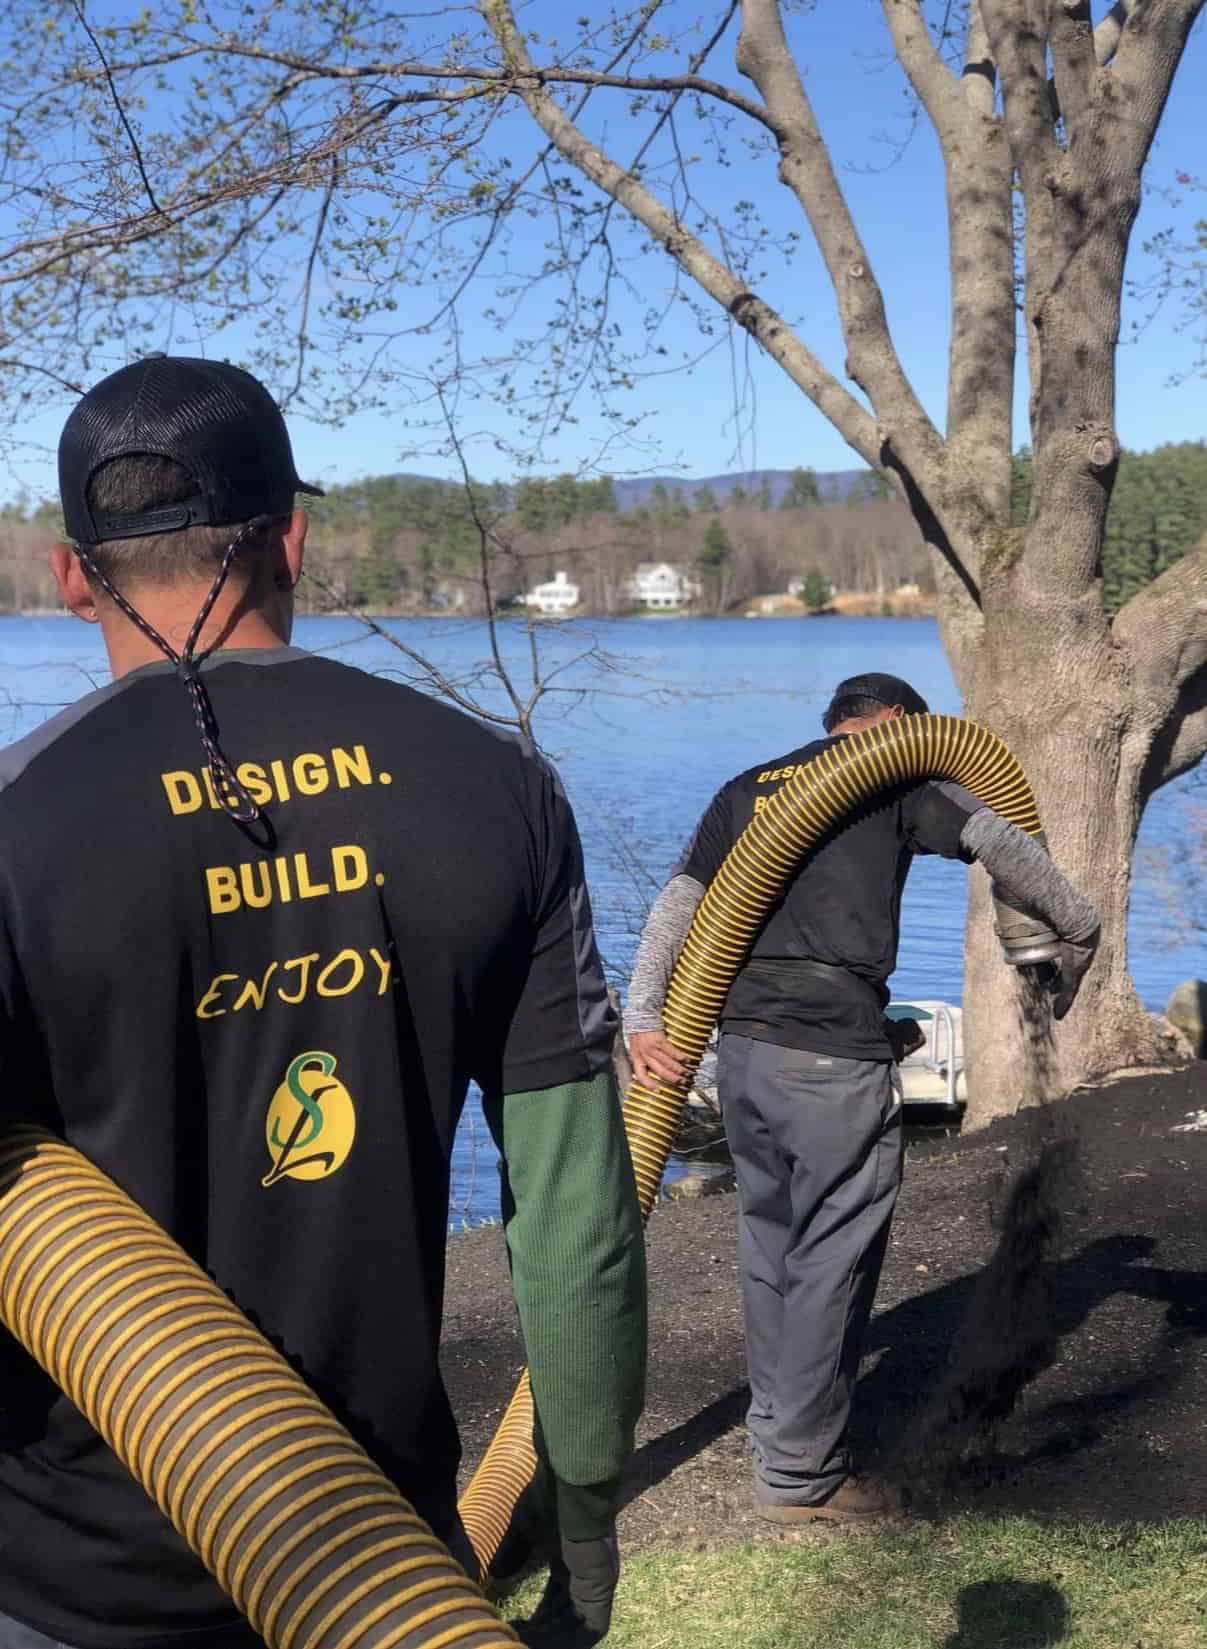
Apply mulch correctly

Once you’ve decided on the “what” (type and color) of the mulch you want to use on your property, you’ll want to focus on the “how” of spreading the mulch. Improperly spread mulch can not only be disruptive to the overall design of your yard, it can also be damaging to a garden or landscape. Mulch that’s applied too thickly can be damaging to a plant’s root system and may stop water from making its way down to the root of the plant, or not allow the area surrounding a plant to drain correctly after watering or a rainstorm.

Start your mulch application by cleaning out the areas where you want to apply mulch. Take out the weeds, sticks, leaves, etc. that have accumulated over the winter months, and water if necessary. Then start spreading the mulch; it’s best to lay down mulch in a depth of approximately 2 inches.

If you’re putting mulch down around plants, shrubbery, and trees, etc., make sure to keep the mulch around three inches away from the plant itself, to help with air circulation around the root of the plant. However, if you’re mulching a vegetable garden, you do want to mulch right up to the stalk of the plant, to help with water retention. Water the whole area after mulching.

At Stephens Landscaping, we have a lot of experience with using many kinds of mulch, and we’d love to discuss which kinds and colors of mulch are right for your landscape and garden. Call us at 603.707.0630 or reach out by email.

Lighting Up the Night

Landscape Design · Landscape Lighting

You’ve got a beautiful home, and complementary landscaping which can be enjoyed year-round. How do you showcase these assets? The best way to display your property and surrounding land is to add illumination.

Aesthetic landscape lighting is a wonderful way to accent your home and grounds, provide safety to walkways, entrances and to your property overall, as well as increase the total property value.

With low voltage LED lighting, home illumination systems have become easier to install, use, and maintain. Most systems are custom designed around your particular needs rather than a one-size-fits-all system and are often paired with smart home systems. These systems can be controlled with apps and timers, and can be set for different seasons, and events.

Why Light it Up?

There are several great reasons for adding lighting your home and landscape. First, you’ll be able to add visual interest by highlighting architectural features and points of interest in your landscape, like flowering trees or a water feature.

Lighting your outdoor spaces will allow you to enjoy your property longer in the day and into the evening; you won’t have to head indoors when the sun sets, and you can use more of your property when it’s well illuminated, instead of some areas being dark voids in the periphery.

Security considerations should also be taken into account when contemplating landscape lighting. You can illuminate doors and windows, making it easier for your security system to capture clearer images. Strategic lighting also gives the appearance of someone being home. And, by illuminating pathways and walkways, you can insure safer passage around your property for family and guests alike.

Why Low Voltage LED?

Low voltage LED systems are primarily used in home lighting systems because they’re safe and cost-effective. With low voltage systems, there’s little chance of shock and the installation is quicker and easier. You can install an LED low voltage system on your own, as it’s relatively easy to learn, but for a larger home or a complex system, we suggest hiring a professional installer.

LED fixtures and bulbs use very little power, so the impact on your electricity bill won’t be as great with a low voltage LED system. The bulbs also last longer, so you won’t have to replace them as often.

LED lights come in a wide variety of colors and lenses, so you can design the lighting that works best for you and your home. The days of hot, bright floodlights are over! You can highlight some areas, have other areas softly illuminated, and of course, dimmers and timers on lights can be installed wherever you deem necessary.

Low voltage LED lights don’t get as hot as regular lights, even when they’ve been on for several hours, so they won’t add to the heat during the hot summer nights, nor will they affect any plants you may have surrounding them. And LED lights reduce light pollution, as the light they cast is more focused than regular bulbs.

How Should You Get Started?

After deciding to add lighting to your property, the first thing you’ll want to do is to create a landscape lighting plan:

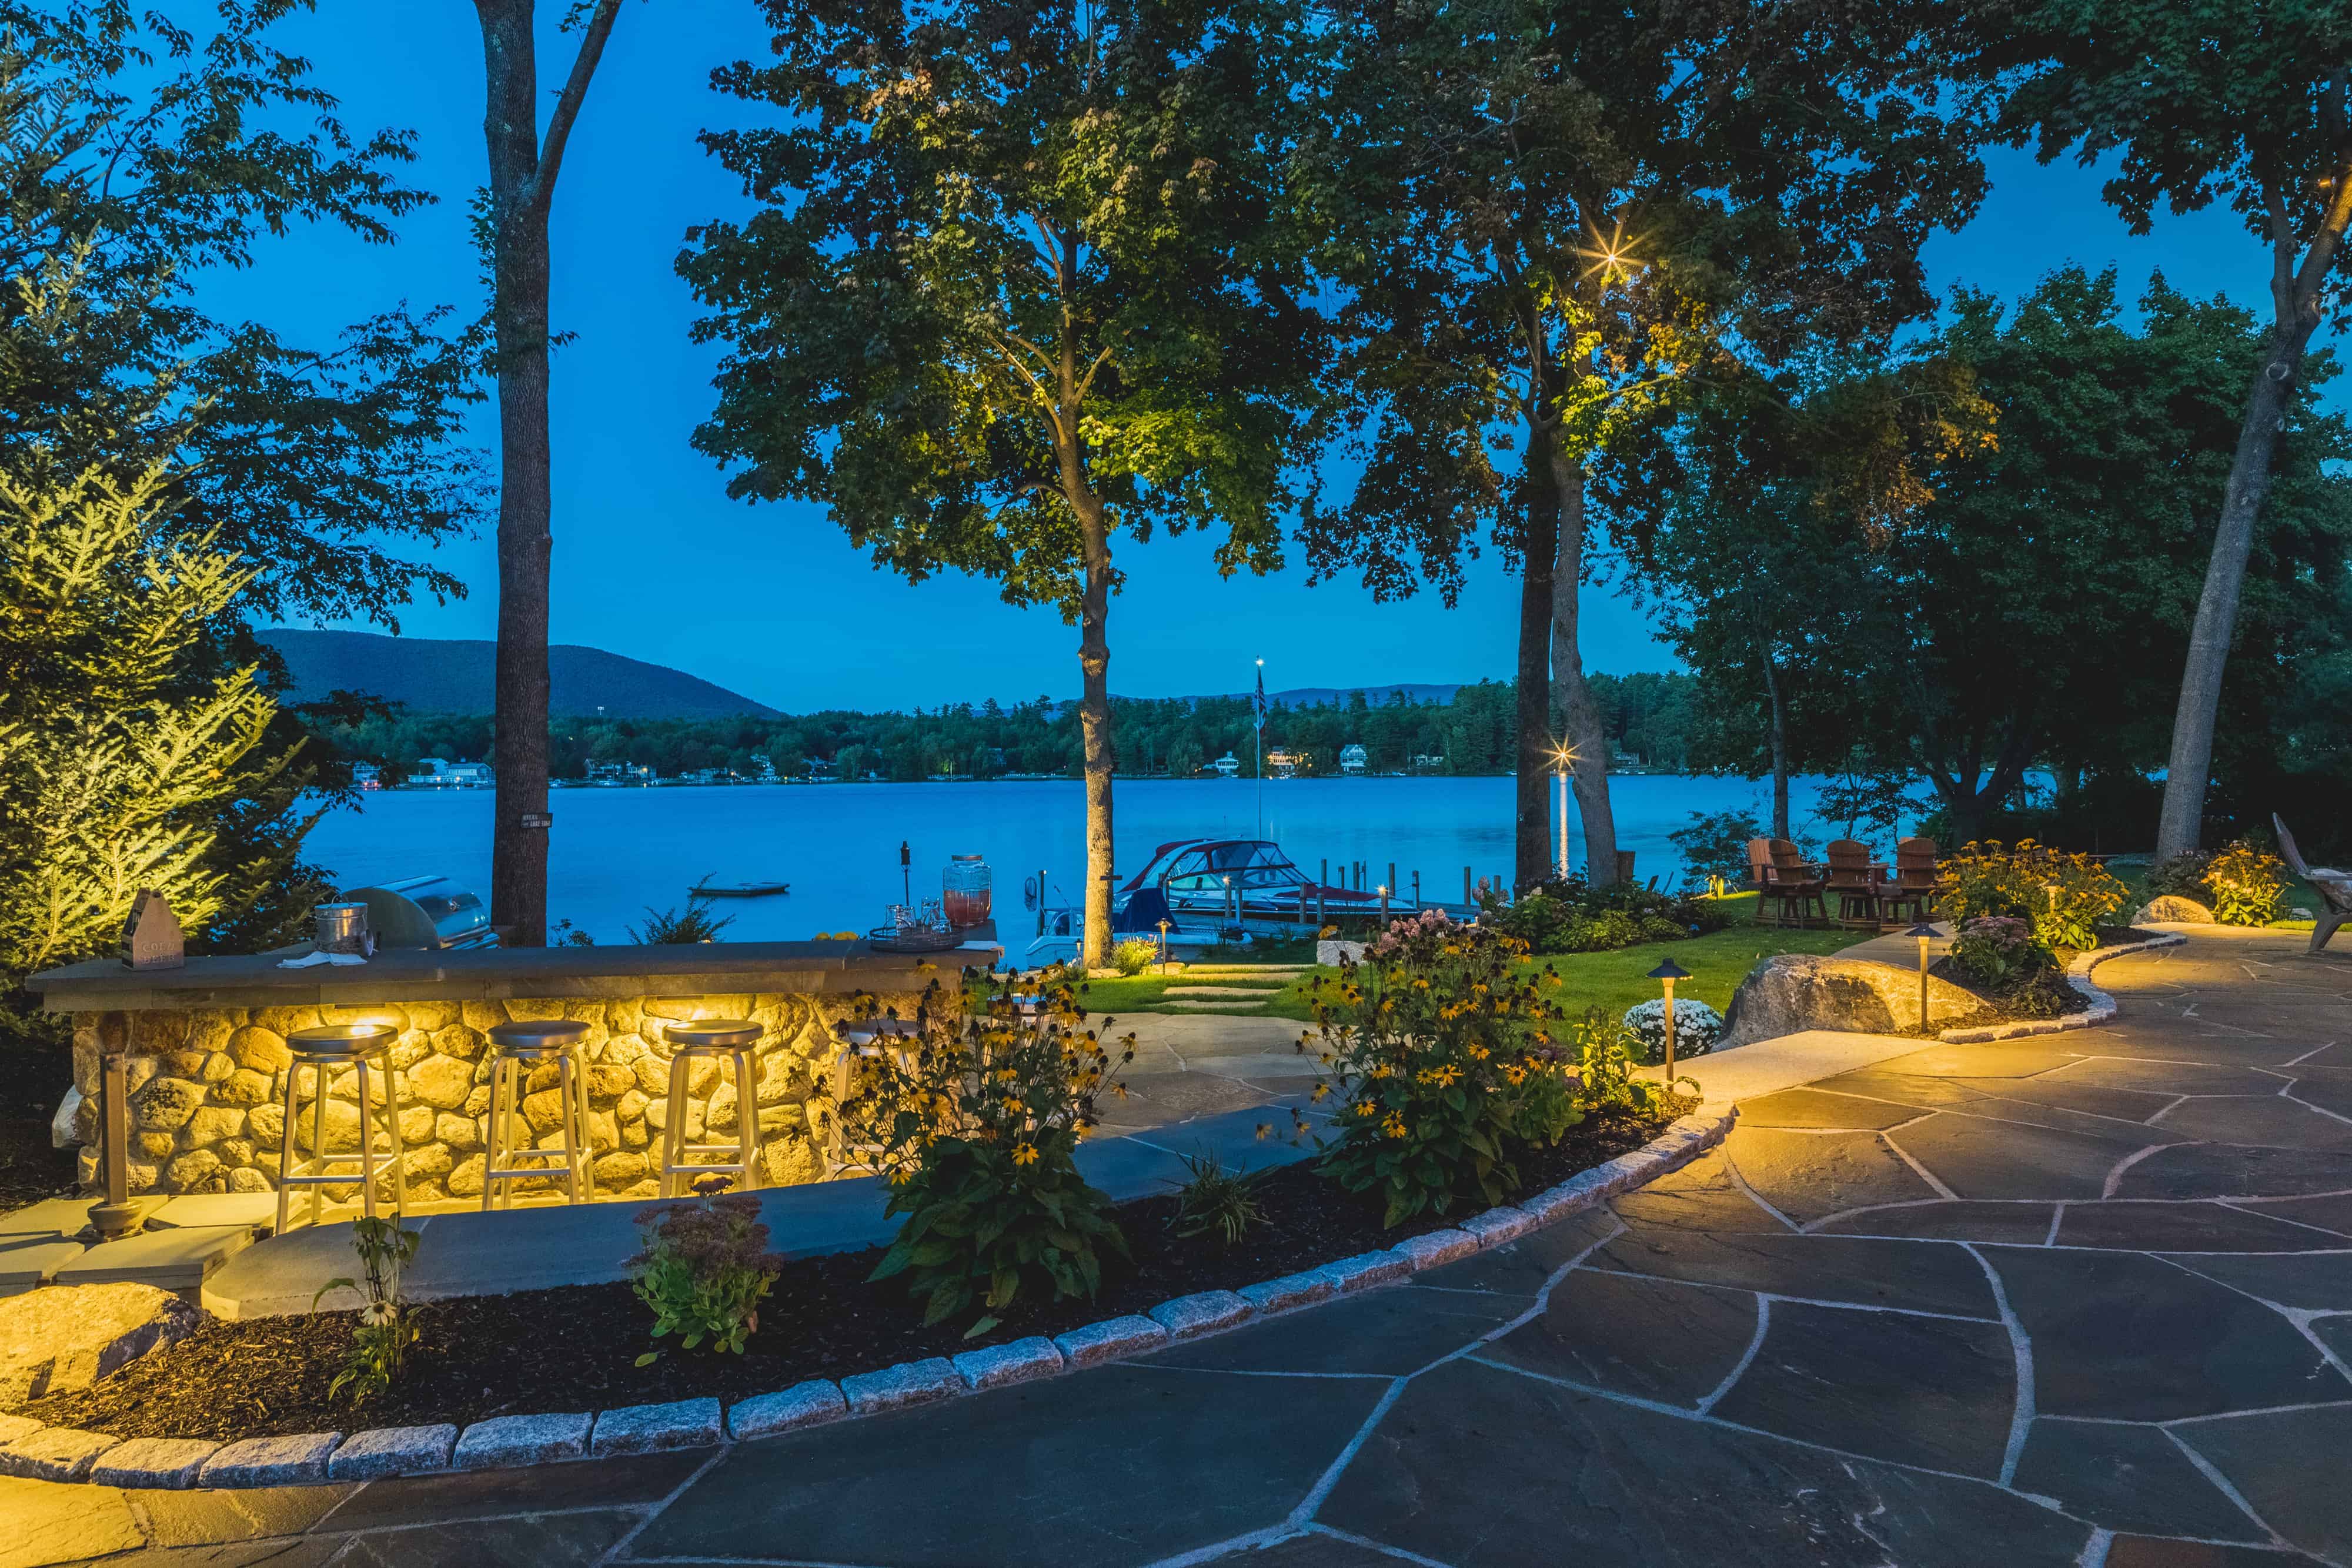
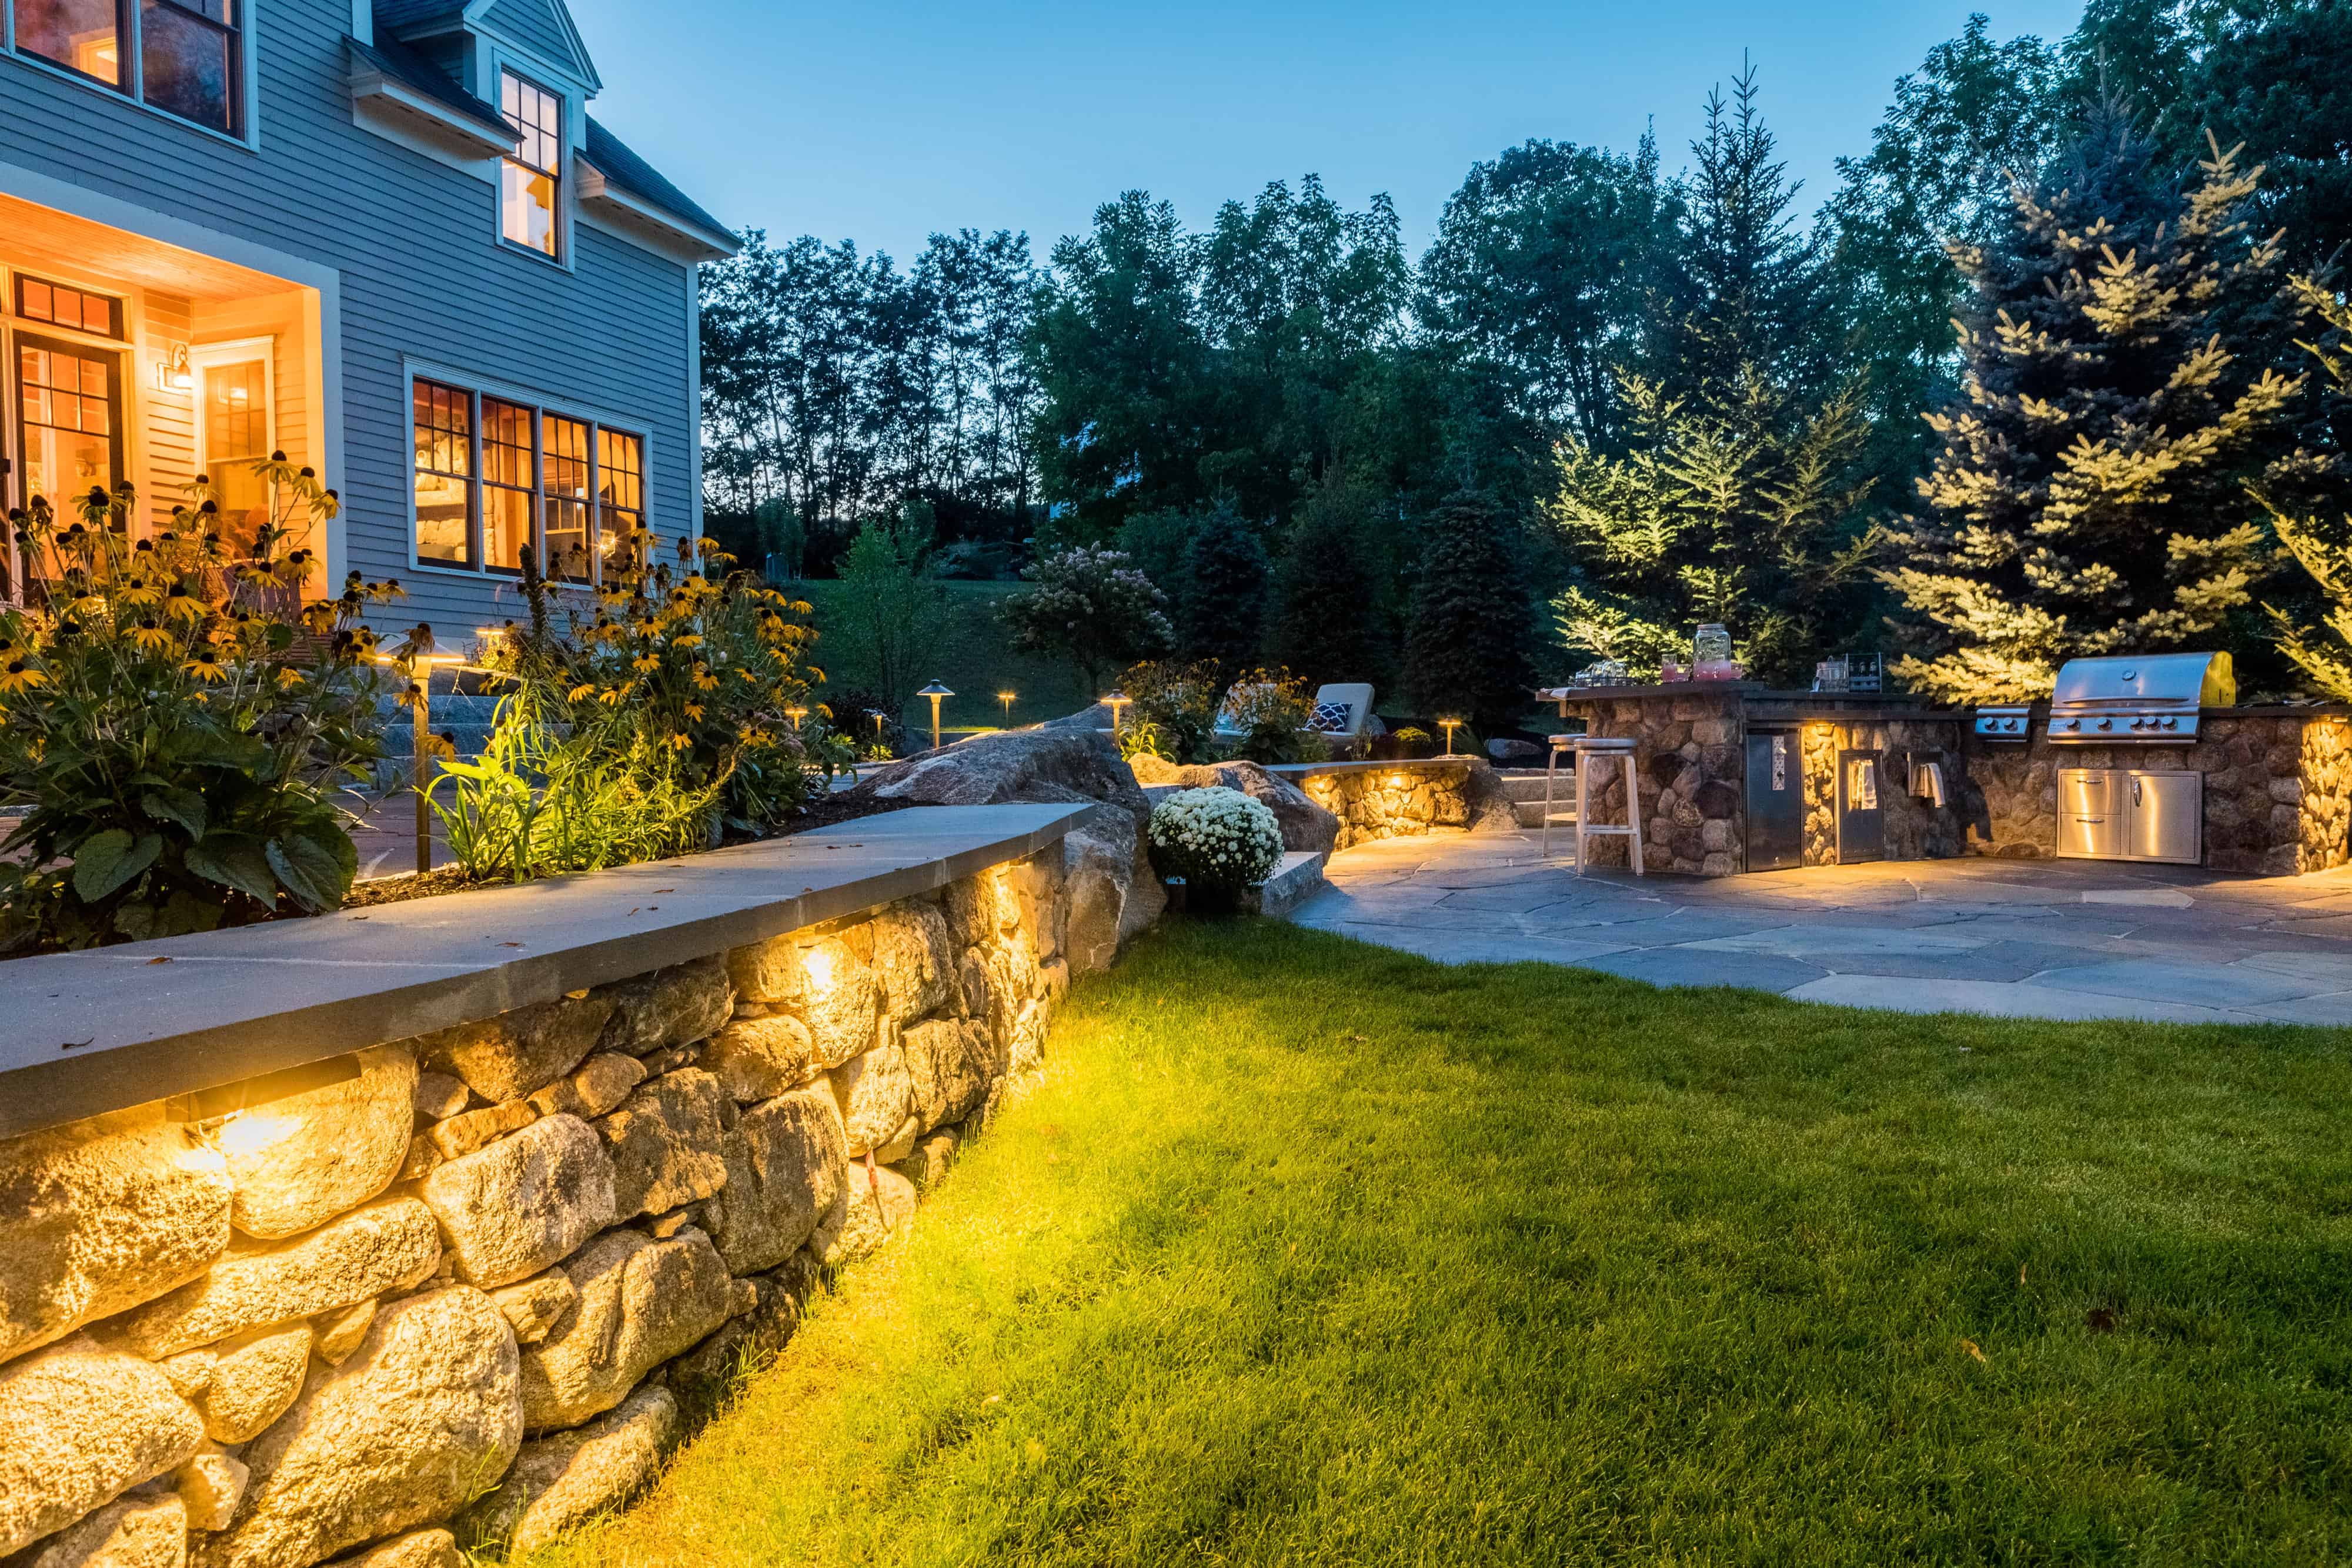
  • First, decide what you want to light or showcase. Include any or all doors, windows, garage doors, pathways, and sidewalks to and from your house. Are there any areas in your yard or landscaping to which you’d like to draw attention? Flowering trees, decorative shrubbery, fountains and water features are popular choices, as are beaches, pools, and retaining walls.
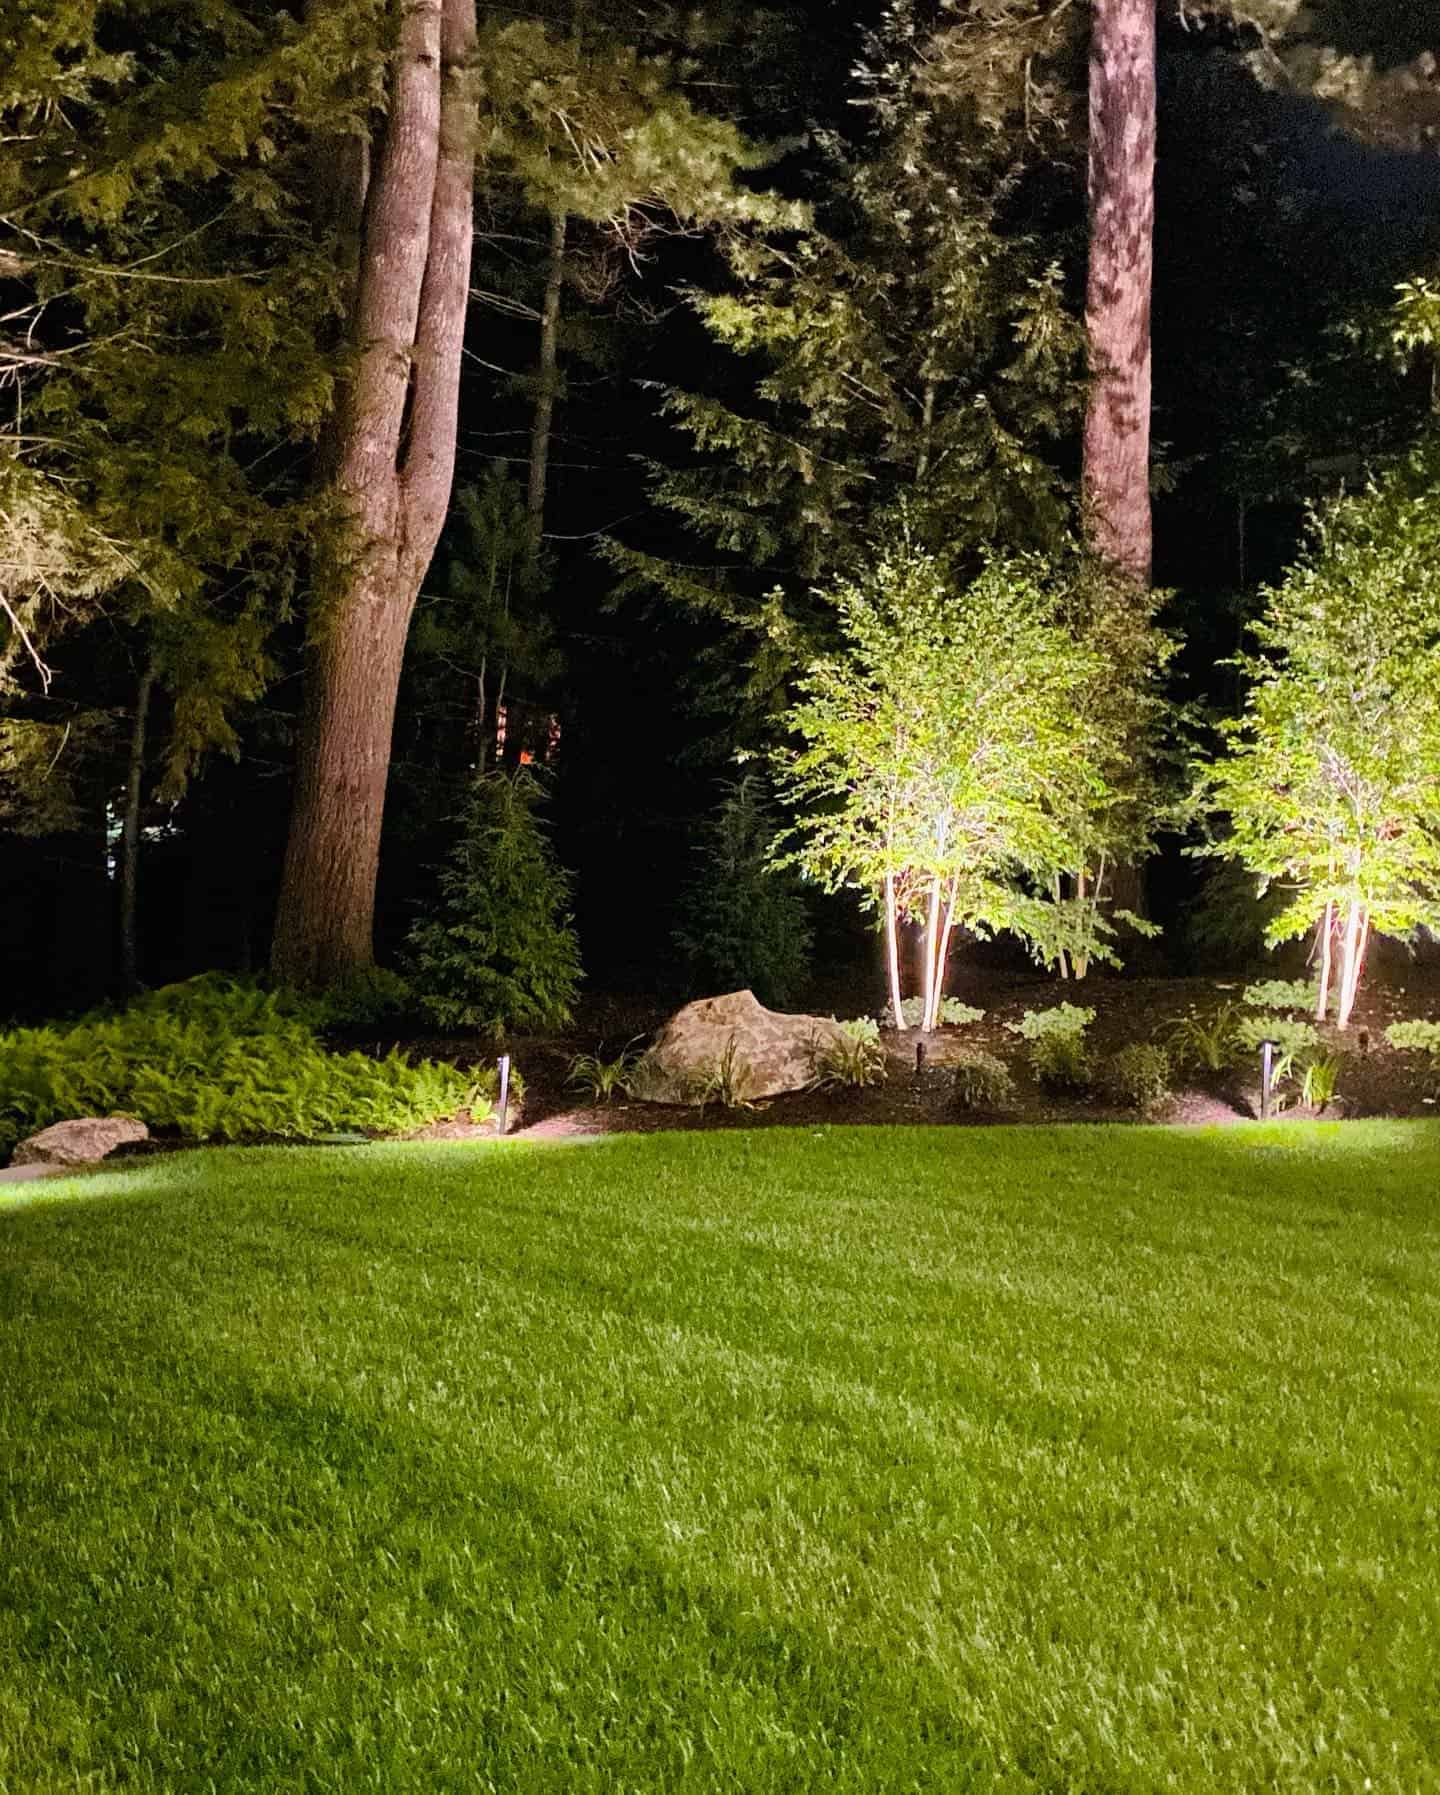
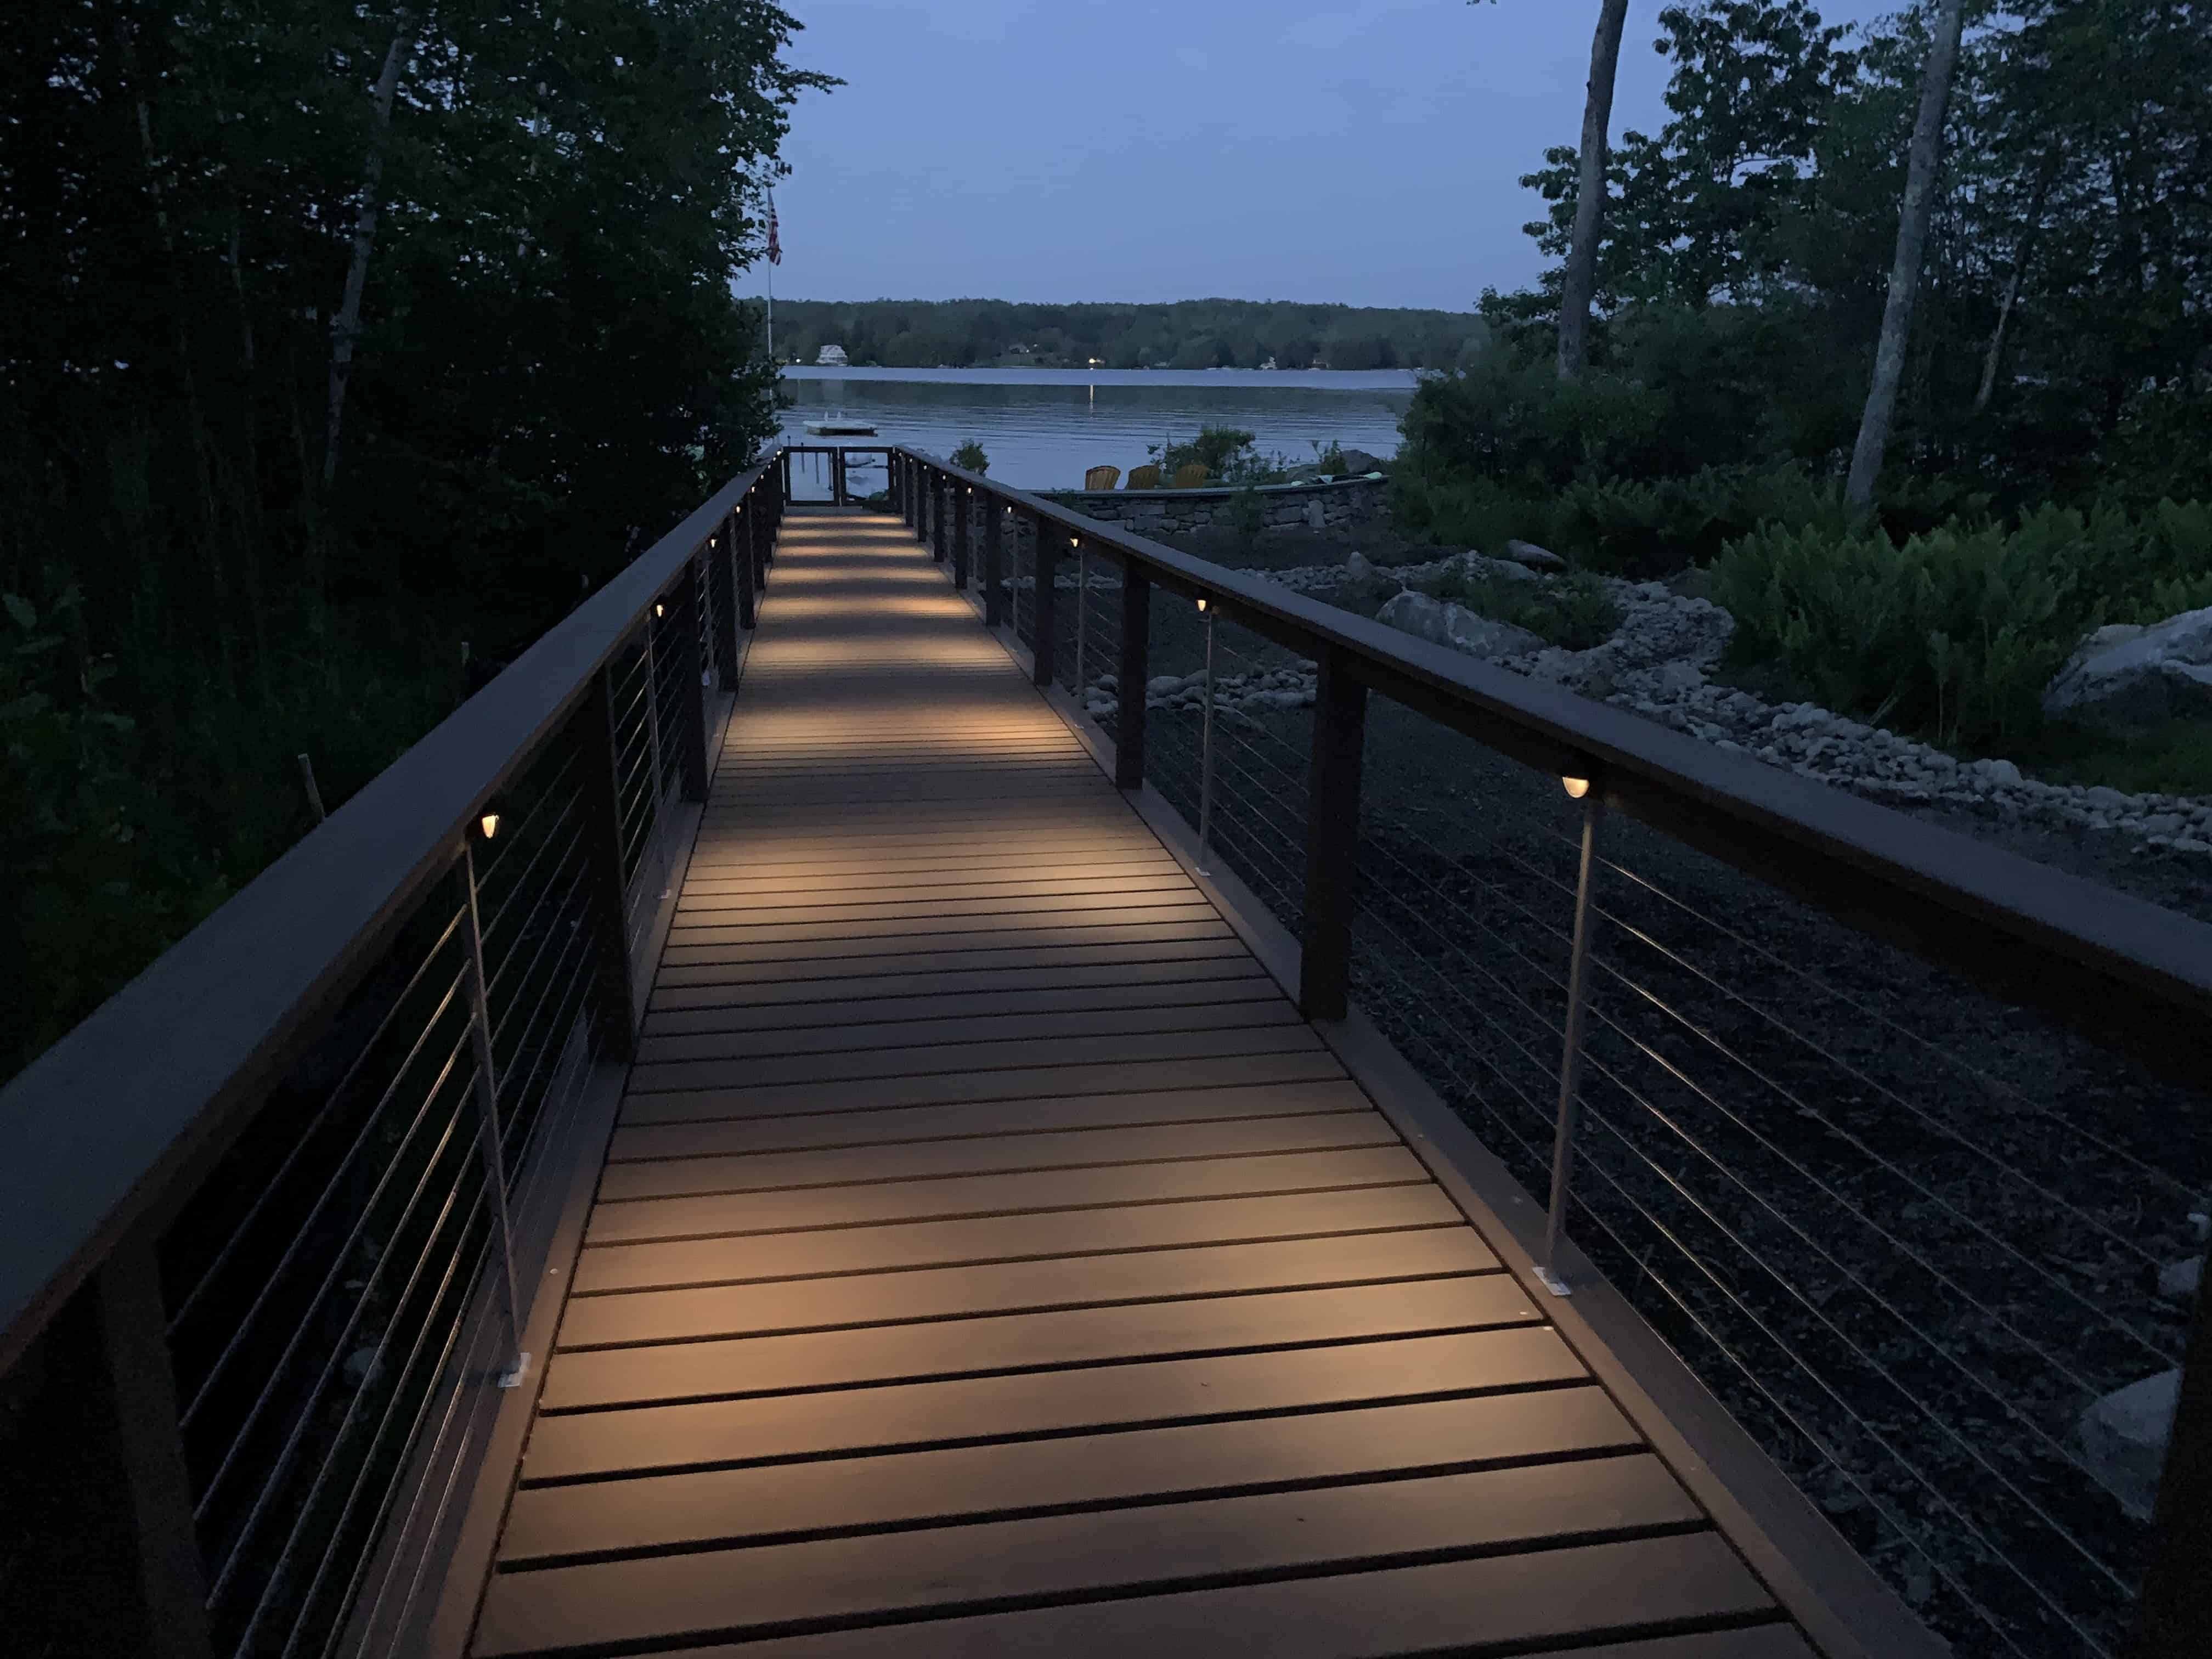
  • Select the appropriate lighting techniques. Most plans have a good mixture of several techniques. You can: highlight a feature; create shadows; place a light a few feet away to “wash” the object in light; uplight or downlight with more directed beams of light; “moonlight” an area by placing a feature high up in a tree or light pole, and have soft light come down on the area; light up your path with lights running alongside walkways and drives; and place lighting in surfaces themselves, like stone walls or steps.
  • Choose the fixtures, bulbs and accessories that give you the desired effect. Again, this should be a good combination of several different items customized to your individual needs. Choices include spotlights, path lights, wall mounted lights, lights with motion sensors and/or dimmers, ground lights, and hanging lights.
  • Connect it to your smart home system and apps and set up a schedule for daily/nightly use, as well as vacations or other times away.

At Stephens Landscaping, we can work with you to create a lighting plan and install low voltage LED lighting systems that will fit your property’s needs and unique aesthetic. To get started, give us a call at 603.707.0630 or email info@stephenslandscaping.com.


Bringing Warmth to Winter

Landscape Design

Winter has arrived here in New England, and while many activities have moved indoors, enjoying your outdoor space doesn’t have to be one of them. Consider adding a heater to your outdoor living spaces for enjoyment throughout all of the seasons.

There are many options of outdoor heating available from which to choose for your location and aesthetic—including free standing propane towers, attractive natural gas fire pits, small tabletop heaters designed for dining tables and patio sets, and more! Many heaters are combined with lighting to help in making these spaces look and feel warm and cozy.

Getting Warmer

The kind of heater you choose for your outdoor space depends on what kind of space you have, because not all heaters are appropriate for all spaces. Gas fire pits and fireplaces, for example, should not be used in enclosed spaces, and electric heaters are for smaller spaces. We’ve listed several types of heaters, their ideal settings, and other things to consider, below.

Fireplaces and Fire Pits

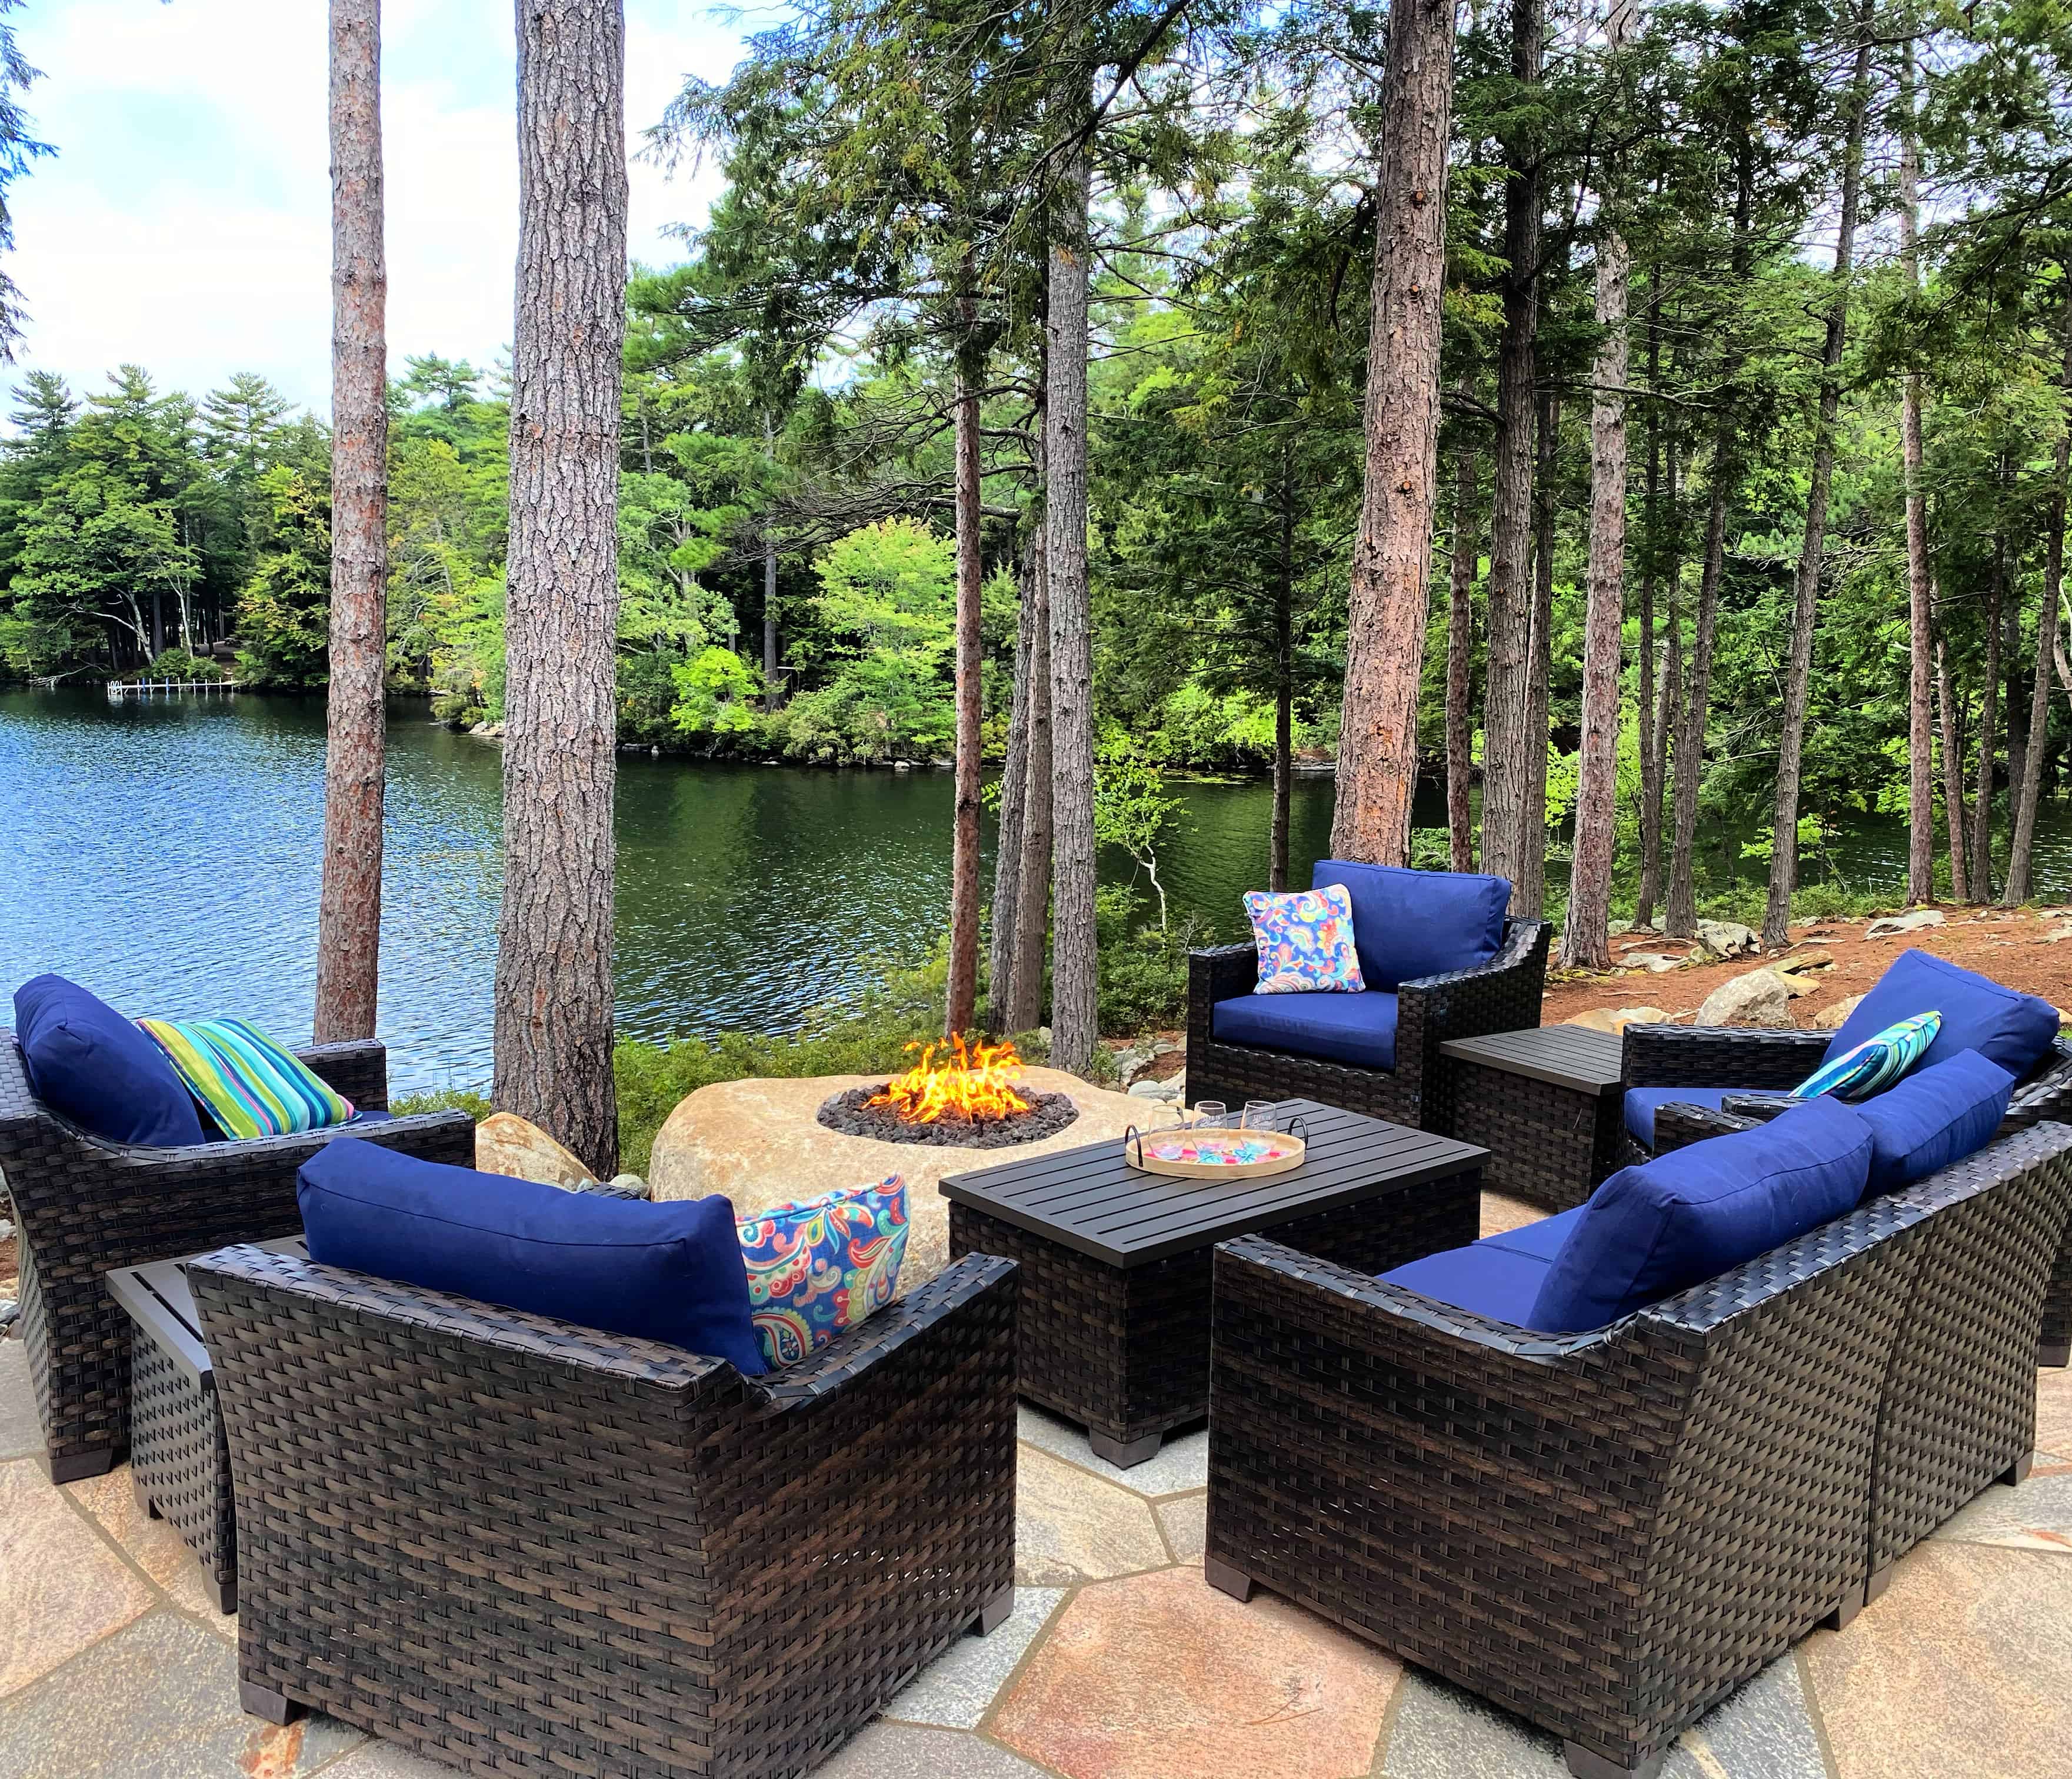
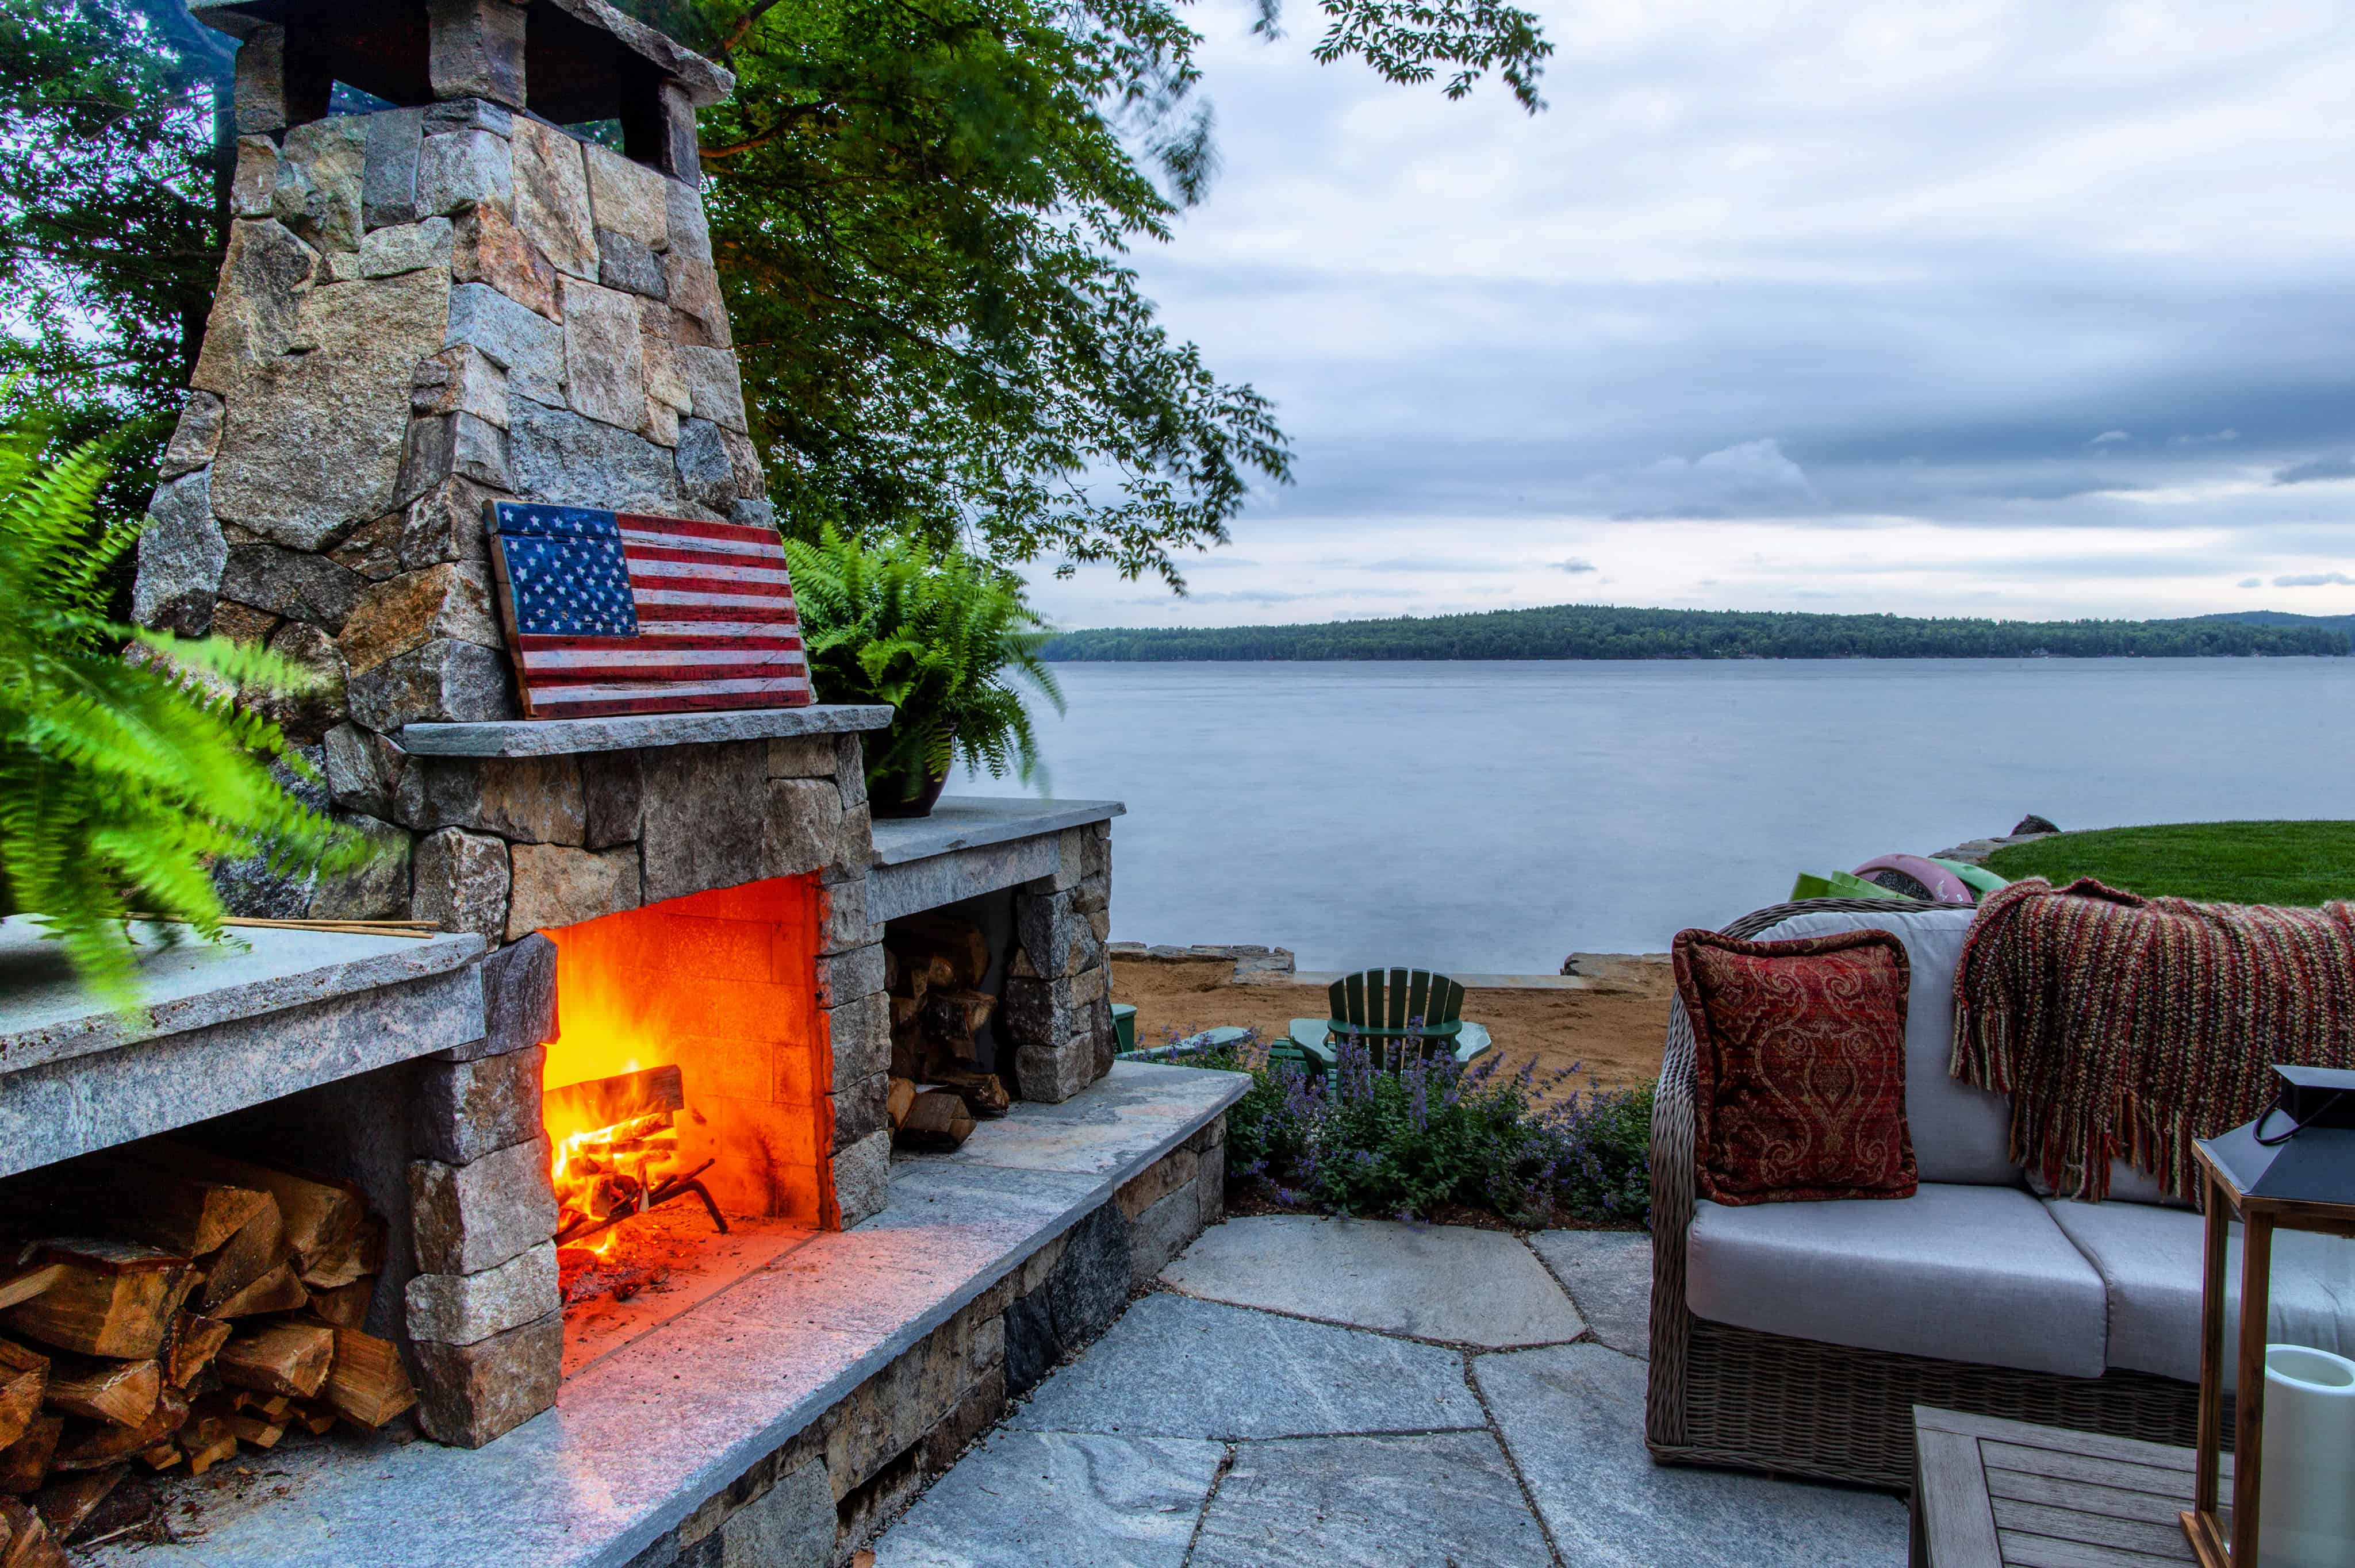
These are the most aesthetically pleasing options for outdoor heating. Both fireplaces and firepits use natural gas and emit a good amount of heat through real flames. They make great focal points for your backyard, terrace, deck, or patio. You can create a nice sitting area around them, and decorate the mantles with glass, stone, or tile surrounds to make it truly custom and match your décor. They are easy to use and low maintenance. These work best in large outdoor spaces because these heaters use real flames, so they are not safe to use in enclosed spaces or covered patios.

Heaters

The most commonly used outdoor heaters are some type of appliance, like the one used at restaurants mentioned above. These heaters can be quite large and include lighting or small enough to fit on tabletops; emit enough heat that they have to stand alone, or can be mounted to a wall or ceiling. What you choose depends on the size of the area you wish to heat, and how you want to heat it:

  • Propane: These are used widely, and since they heat the air itself, they will heat a big area, so they are ideal for large, open spaces. They usually have one touch ignition switches but can take a while to heat up. These are tall and have wheels so you can move and place them wherever you’d like, but be sure to keep them at least three feet from any surface, wall, furniture, etc. They come in a variety of designs and price points so you can find one that’s perfect for you and your space. With these, you’ll need to purchase/refill tanks of propane, and protect the heaters from wind.
  • Gas heaters: These work basically the same as the propane heaters but are a bit more environmentally friendly.
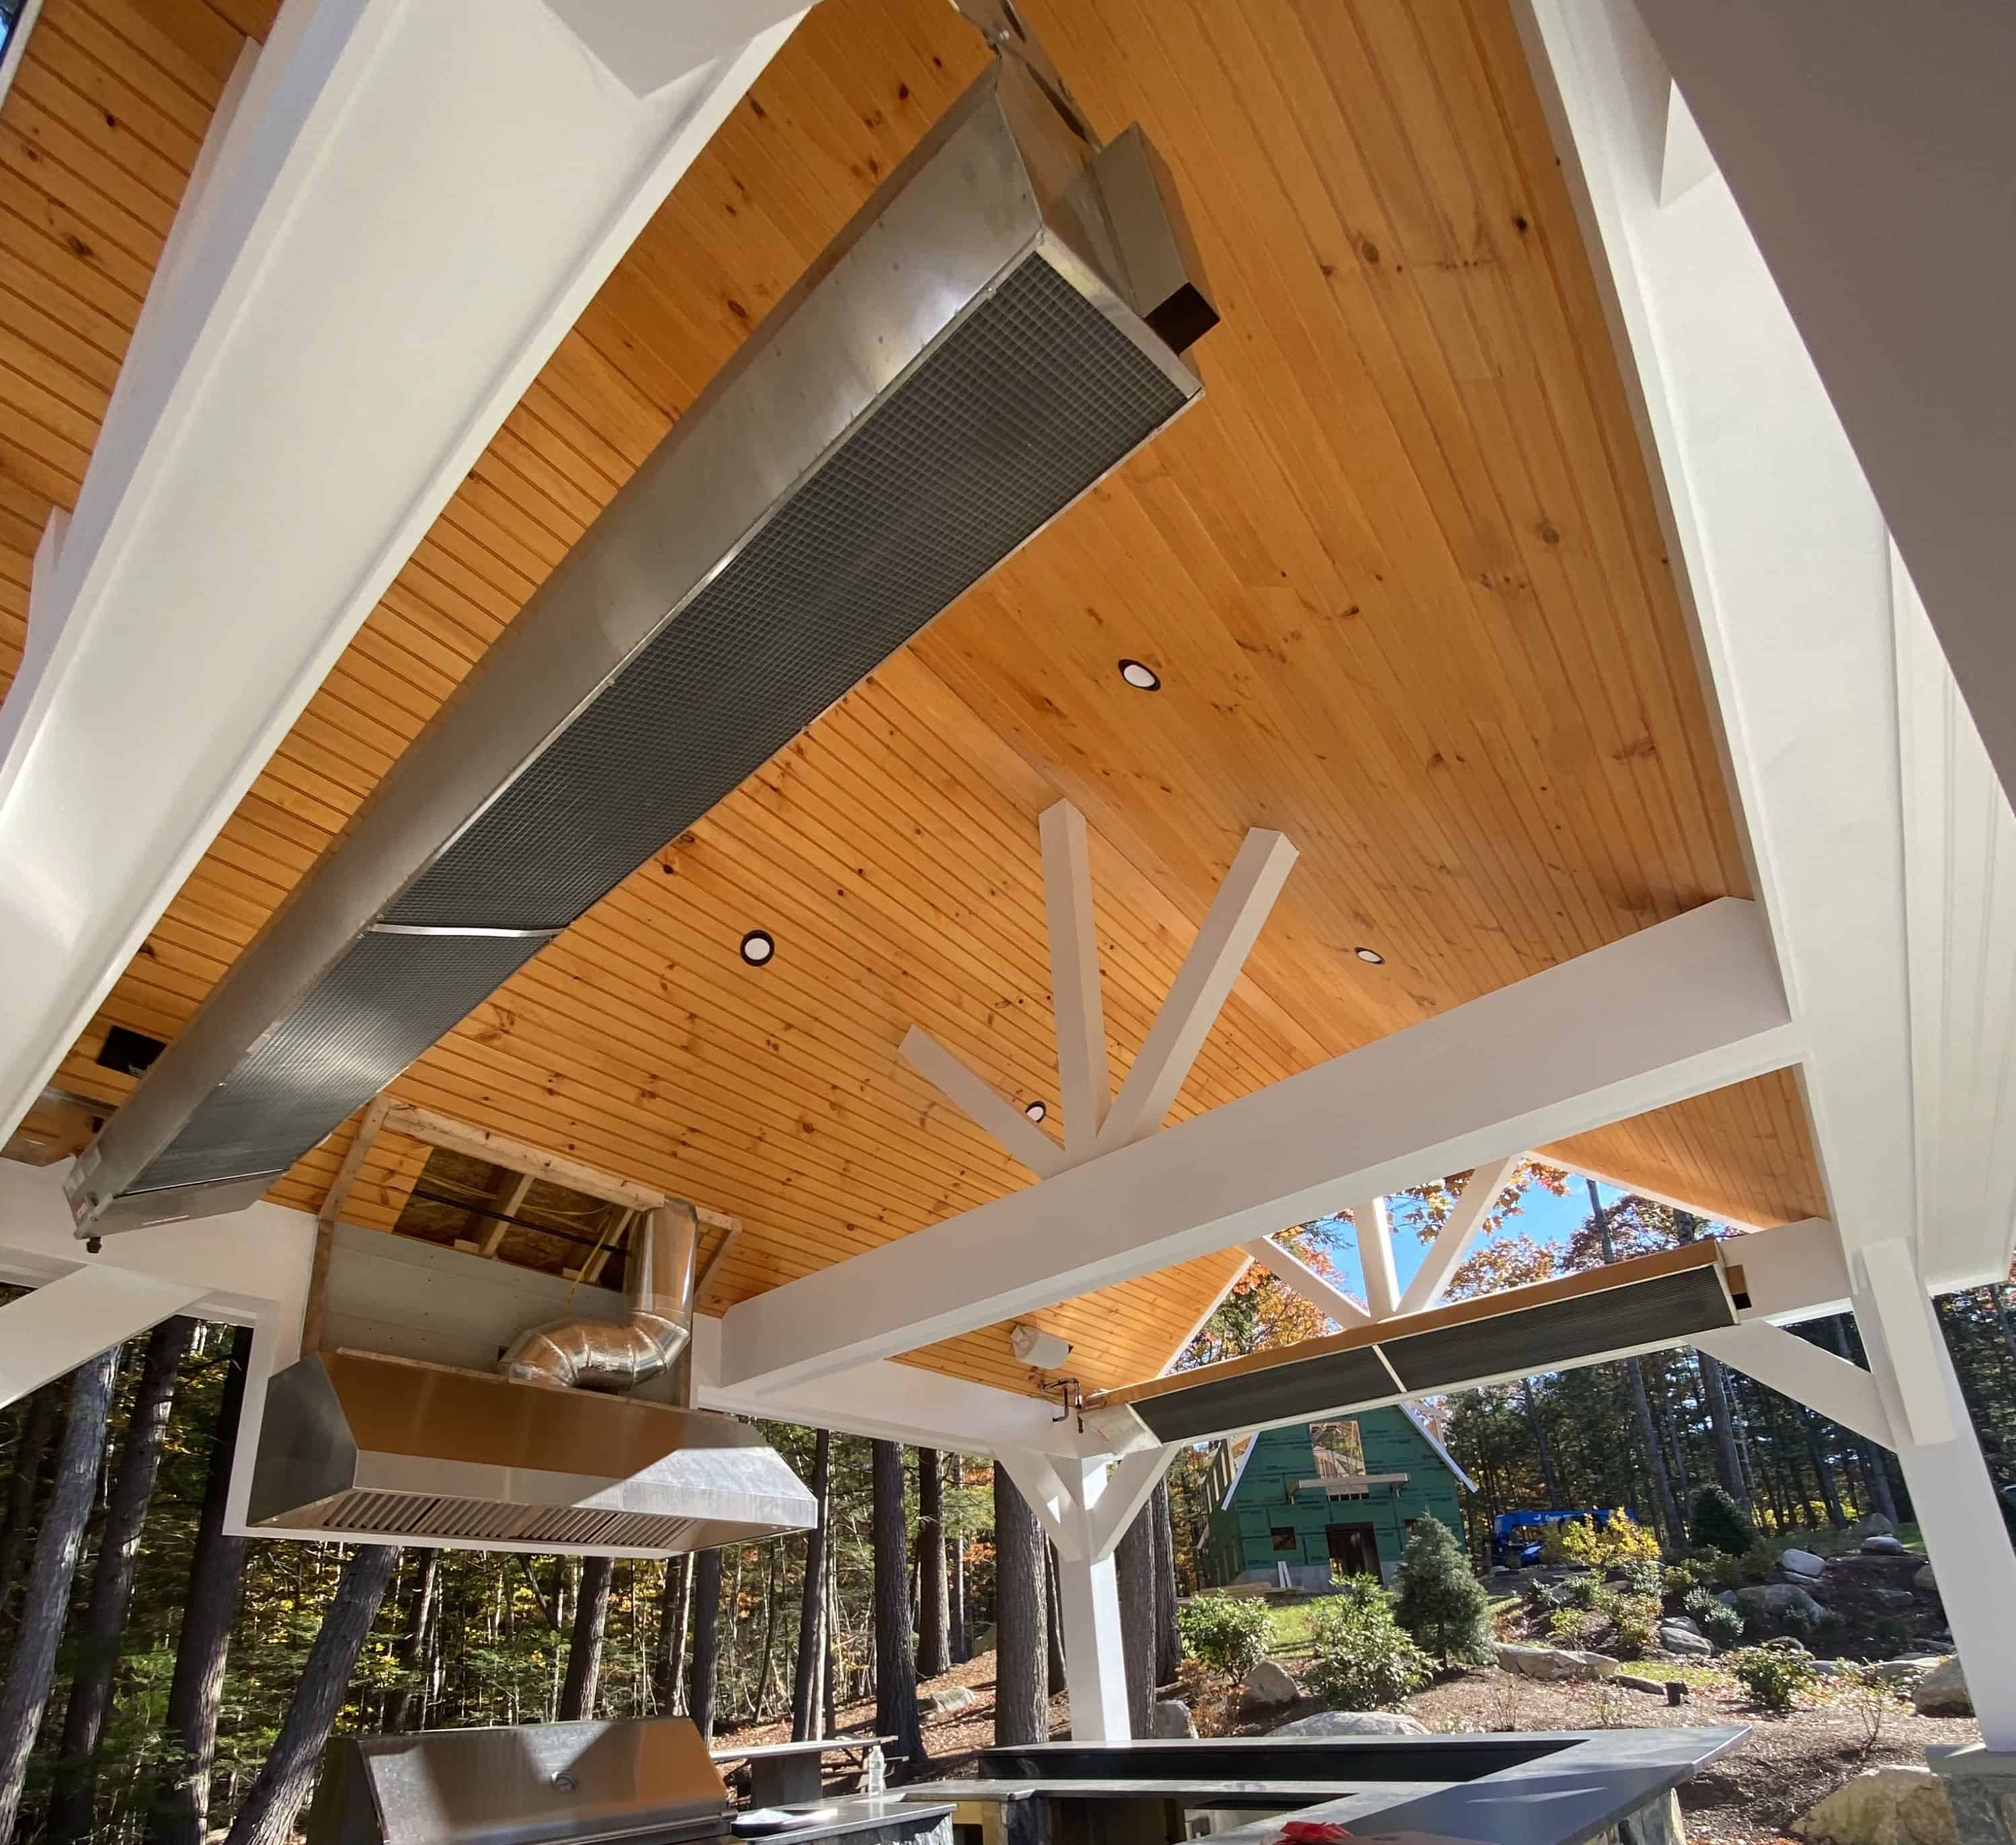
  • Electric: These heaters do not use any open flame, so they are the best to use in enclosed spaces like porches or patios. They emit a radiant heat, so you’ll have to sit next to them to feel the warmth, as they won’t really heat the air itself. They can be used closer to people and furniture and can be used anywhere as long as there is an electrical outlet nearby. You can place these electric heaters under chairs and tables, on tabletops, or mounted on the wall or ceiling. Of course, be sure to maintain an adequate clearance. While you won’t need as much space as you would with a gas or propane heater, with any type of heat, it’s better to be careful. These are the most environmentally friendly of all portable heaters.

Heated Floors

Another good way of heating your outdoor space is by adding heating under your patio tiles. Heat will radiate from below as you sit outside, and as an added bonus, the snow and ice won’t accumulate on these surfaces.

Heated Pergolas

A great way to enjoy the outdoors is from your own heated pergola. By adding this outdoor space and building in a plan for heating during construction, you can protect yourself from the elements a bit, and stay warm while enjoying the outdoors.

We’d love to assist with any of your outdoor heating needs, and happy to discuss the best options for your home and landscape. Reach out by email, or give us a call at 603-707-0630.

Popular Design & Landscape Trends

Landscape Design

TAKING IT OUTSIDE

Warm weather has finally arrived in the Lakes Region and many of us are looking forward to spending more time outdoors.

While outside, you may realize your outdoor space needs refreshing, or even a complete renovation. Whether you have an established space that needs updating or you’re starting from scratch, there are many things you can do to make outdoor spaces comfortable, functional, and welcoming.

A MATTER OF SPACE

The first step is to consider what you want to do with the space—what do you want to use the outdoor space for? What will happen the most out there?

Outdoor spaces are often used as places of refuge, where people go to read and relax, and become one with nature; they can be great exercise spots or peaceful meditation gardens. One of the most common uses for outdoor areas is a play space for the whole family. There are many customizable play-sets available at differing price points, depending on age and interest levels. Larger areas could accommodate putting greens, bocce courts, or small disc golf courses.

Once you determine how you would like to use the space. With a little planning, you can make your deck, patio, or backyard an extension of your home. If you already have a deck, you can enlarge it on the same plane, or add levels. Adding on to a patio will give you more space to work with. A backyard redesign or upgrade will give you the most opportunities to create a space that will suit your needs.

Some people use outdoor spaces as an extension of their living room, and furnish it with rugs, décor, and comfortable furniture. Others use this space as an outdoor kitchen or entertaining area. Grilling areas can be expanded to include preparation, storage, and counter space, as well as dining. Larger cooking areas may even include pizza ovens or a bar and lounge area.

BUILT FEATURES

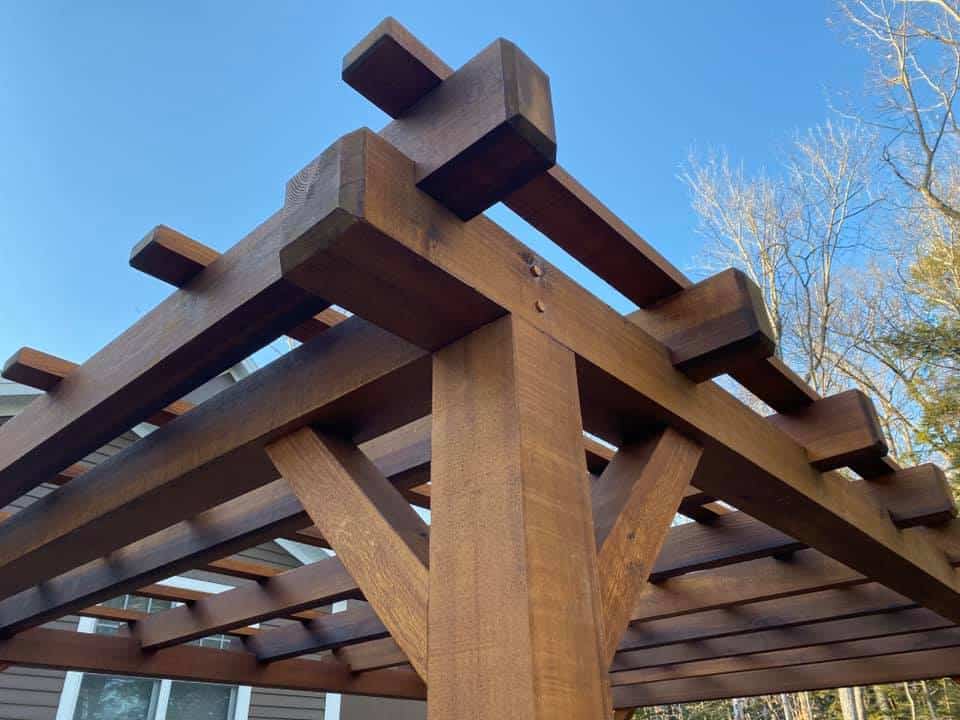
A popular and useful structure for any outdoor space is a pergola, pavilion, or gazebo. What once started as garden follies are now available in many configurations, materials, and price points. These structures offer additional opportunity to incorporate beautiful landscaping and plantings to increase natural beauty and add visual interest to your landscape.

In conjunction with garden structures, a fire pit is a great addition to any patio or back yard, perfect for relaxing at night, and making s’mores.

Another great addition to an outdoor space is the inclusion of a water feature. Some ideas include a fountain or koi pond; a pool, either above ground or built in; or a hot tub or spa.

Plantings play a big part in making your space the most inviting. We can work with you to develop a plan that will not only look good in your available space and accommodate your specific needs, but that will also make the most sense with our climate and growing season in the Lakes Region.

HOME BENEFITS

Thoughtfully designed outdoor areas can give you years of enjoyment, as well as increase the value of your home. Many people see an increase in their property values, as a return on investment for upgrades made to outdoor spaces. For more information about what a good outdoor space can do for the value of your home, contact our associates at Lake Life Realty.

WE CAN HELP

There are as many options as there are ideas for creating or refreshing outdoor living spaces. We have created some beautiful and functional outdoor spaces and would love to help with your plans. We’ll work closely with you to design a plan that best fits your space, design aesthetic, and budget. We’re excited to see what you have in mind. Contact us today!


Shoreline Tree and Vegetation Management Rules for Waterfront Properties

Landscape Maintenance

People are drawn to the beauty of New Hampshire for its mountains, wildlife, and its numerous pristine lakes and ponds. The Shoreland Water Quality Protection Act (SWQPA) was established to protect the natural resources and to oversee the management of shoreline properties. Protecting our natural resources and the quality of our public waters is the responsibility of all to ensure the health of the environment and the economy of NH.

The SWQPA regulates vegetation management within 150 feet of public waters. If you are a landowner of waterfront property here is a breakdown of the most important regulations.

  • Within 50’ of the shoreline no ground cover or shrubs may be removed, converted to lawn, or landscaped. However, shrubs can be trimmed to a minimum height of 3’ and can be removed to create a single 6’ wide walkway to the waterbody or water dependent structure such as a dock, beach, or boathouse.
  • Trees may be removed within 50’ of the shoreline if they are dead, diseased or unsafe because of a structural defect or pose an imminent hazard. Stumps do need to remain in place but can be cut flush to the ground unless they are being replaced in the same location with new trees.
  • Healthy trees can be removed, but there are limitations based on a tree grid and a point score system. Property owners are encouraged to manage grid segments by planting additional saplings. Priority should be given to planting within grid segments that do not meet the minimum point score.   Once saplings mature and the grid segments total point score increases, then additional trees could be removed.
  • It is recommended to document any trees you remove with before and after photos and a letter from a certified arborist describing the tree’s defects to help assist with any questions the town or state may have.

If you are considering re-designing or adding any additional landscape features to your lake front property, it is recommended to consult with an experienced landscape professional to help you maneuver through the town and state regulations. The SWQPA is a state regulation, but keep in mind that many municipalities have adopted stricter ordinances or by-laws. A NHDES permit is not required for vegetation management, but is required for removing stumps, constructing walkways, patios, perched beaches, docking systems or grading, etc… Stephens Landscaping Professionals has extensive experience designing and executing waterfront landscapes and has in-house designers and permitting specialists that would be happy to discuss your questions and help you maneuver seamlessly through the process.

For more information on Shoreline Vegetation Management for Water Quality, you can view the Environmental Fact Sheet from NH Department of Environmental Services. by clicking here.