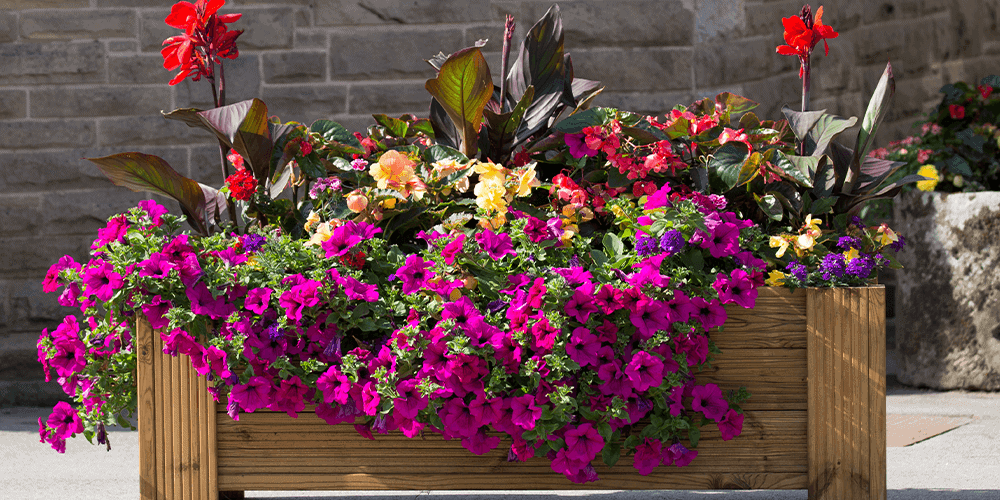
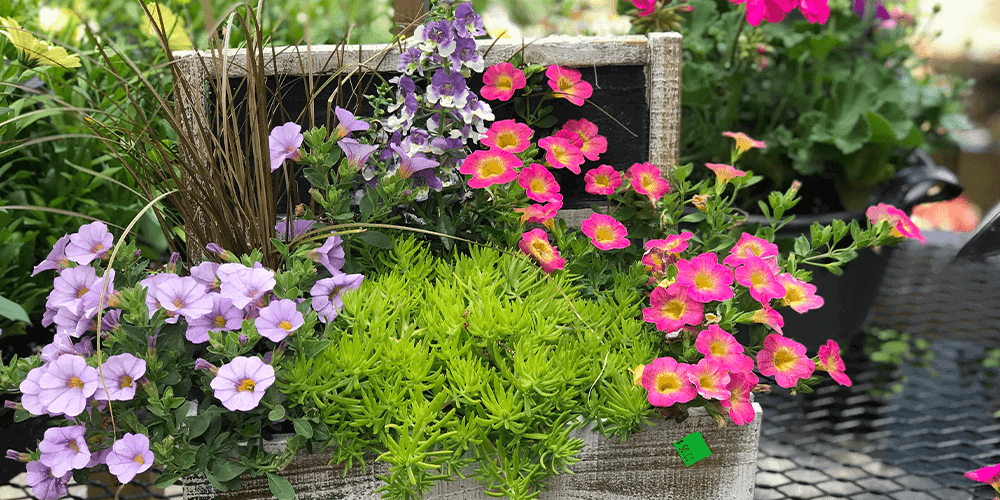
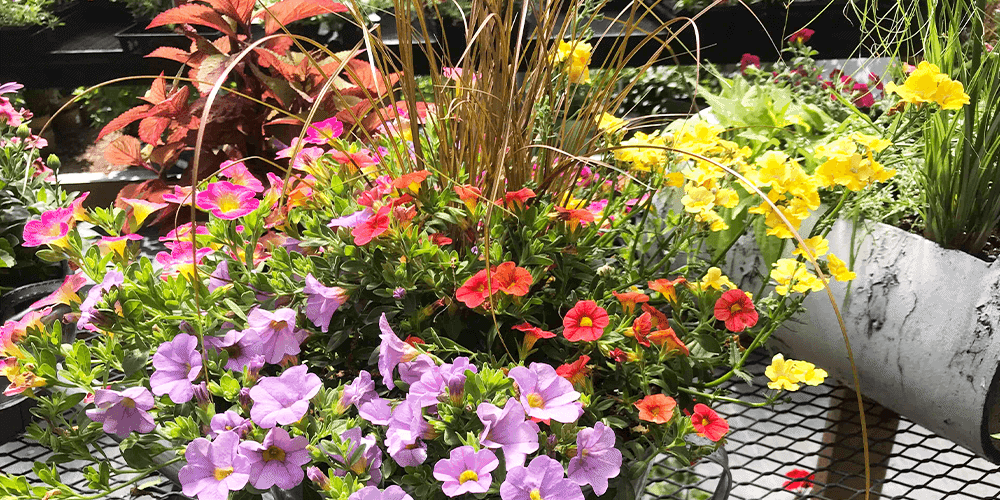
Spring is the perfect time to fill your garden with luscious color! With our fantastic selection of annuals and perennials, you can create desirable spring containers that your whole neighborhood will appreciate! With this guide, we’ll get you started on choosing the right plants for your containers and how to plant them in a gorgeous arrangement.
Choose Your Plants
When choosing your plants, there are a few things you’ll want to consider. First, we typically describe plants as thrillers, fillers, or spillers. Thrillers are tall, stunning plants that catch your eye—they’re the prima donnas of the show! Fillers are the backup dancers, filling in the container with foliage and bright blooms. Spillers hang over the edges of the container, like a backdrop or curtain of a stage; they’ll create a natural overgrowth that will tie everything together. How many you’ll need of each depends on the size of your spring containers, but you can always group them at the garden center to make sure the ratio looks good before you buy.

The second thing you’ll want to keep in mind while designing your spring containers is your plants’ light and water requirements. Including one drought-tolerant plant with one that needs consistent moisture will make for some rather complicated care! Give your plants a quick check when you’re choosing them to make sure they have similar interests and will get along nicely.
Finally, choose plants that look great together! You can go for a monochromatic container with various shades of a single color, or, add in every color you can find for kaleidoscope spring containers. Whichever option you choose, look for a variety in shape, color shade, texture, and height for a visually interesting combination.
 Gather Your Supplies
Before you get started building your gorgeous planters, it’s a good idea to gather all of your supplies. Having everything you might need on hand will make for a relaxing and fun planting experience. You’ll need:
- A fancy new container! If you are looking for a fresh aesthetic, come see our selection.
- Potting soil, which differs from regular soil
- Fertilizer
- A spade
- A sharp knife
- Gardening gloves
- Your brand new, beautiful plants
Once you have all your supplies and plants on hand, you’re ready to get started!
 Fill Your Container
Start by scooping some potting soil into the bottom of your container. The root ball of the largest plant you’re adding should sit an inch below the top of the container. At this point, place your nursery plants inside the container to arrange them and get an idea of how you want your finished planter to look. Leaving them in their original containers, for now, will make it easier to move them around and fiddle with your design until it’s just right.
We recommend planting your tallest plants in the middle and your spiller plants near the edges if you can see your container from all sides. If the container is by a wall or fence, plant the tallest ones at the back and your spillers at the front. In both cases, your fillers will do just that—fill in the gaps!
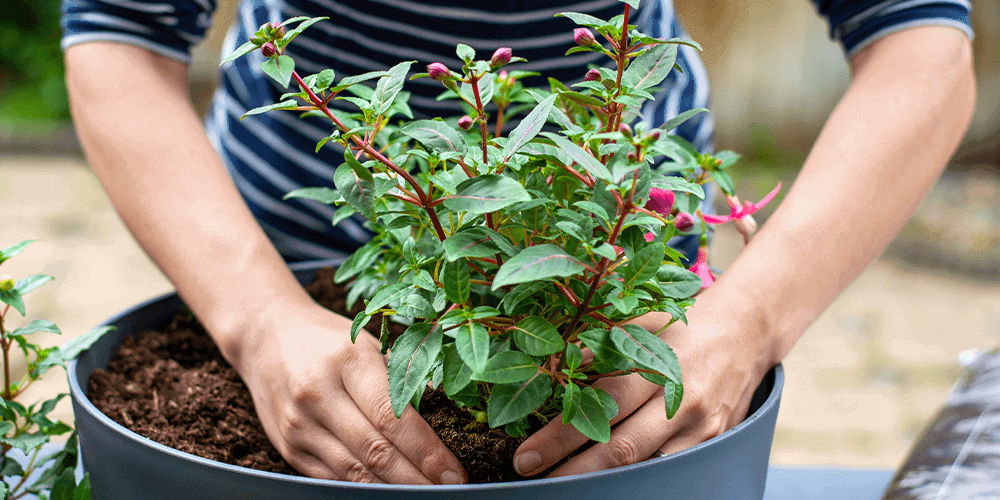
Once you’re pleased with the design, you can start planting. Starting with the largest plants, gently lift them out of their original container, squeezing the sides gently to separate the root ball from the edges. If your plant is rootbound, you can use a knife to loosen up the edges of the root ball. Be careful not to harm healthy roots near the center of the root ball.

Next, place your plant in the container and use handfuls of potting soil to help support it. Keep adding the plants, working your way to the edges of the container, and pack them in gently. Your soil level should stay roughly one inch below the edge of the pot. Now that they’re all settled, you can give them a hearty drink of water with some fertilizer.
You’re officially ready to kick off a colorful spring! If you have any questions or would like help with plant selection for your spring containers, feel free to visit us at Stephens Landscaping Garden Center. Follow us on Facebook or Instagram for updates and featured products.


 Gather Your Supplies
 Fill Your Container